![]()
![]()
Mail Profiles are used to setup the authentication method for receiving E-mails. SapphireIMS supports modern authentication methods using OAuth2. Modern authentication uses tokens rather than username and password. SapphireIMS can use OAuth2 based services provided by Google or Microsoft.
To enable Modern Authentication for receiving E-mails, a mail profile needs to be setup. You can proceed to add the profile and save it. There are certain fields which need to be updated based on the values obtained from the provider which is either Azure or Google. Hence in parallel, you may need to open another tab in the browser and proceed with the registration of the application. Refer to Registering the application in Azure or Registering the application in Google.
In 'Settings', under 'Advanced System Settings' click on 'Mail Profiles'. The profiles are listed as shown below.

Click on 'ADD' to add a new profile or click any profile to update. The profile screen is displayed. The profile creation process is common for all the providers which are currently supported which are Google, Outlook IMAP and Outlook Exchange.
The profile screen is displayed as shown below.
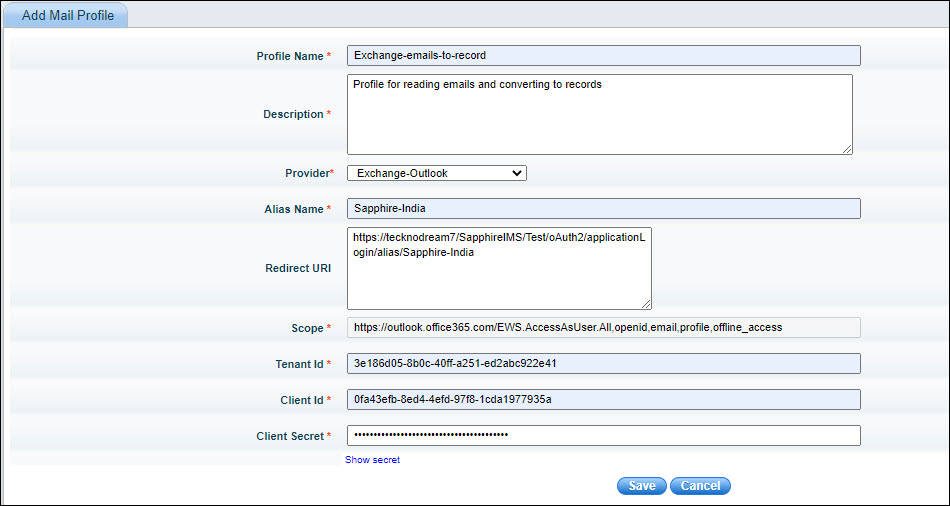
The fields are described below.
| Serial No. | Field Name | Description |
1 |
Profile Name |
Enter a 'Profile Name'.
|
2 |
Description |
Enter the 'Description' for the profile. |
3 |
Provider |
Select the Mail provider which is 'Exchange-Outlook' or 'IMAP/SMTP - GSuite/Gmail' or 'IMAP-Outlook'. |
4 |
Alias Name |
The alias uniquely identifies the profile and it is also used to build the redirect URI.
|
5 |
Redirect URI |
The Redirect URI is used to redirect the user to the application after authentication. This is a display-only field and is generated using the Base URL and Alias.
|
6 |
Scope |
SapphireIMS can ask for the scopes for authorization which are entered here. By default if left blank, SapphireIMS requests for email, profile, offline access and openid which are minimally required. Note that these scopes should have been present while registering the application with Azure or Google. |
7 |
Tenant ID |
This is applicable for Outlook only. Enter the Tenant ID generated during SapphireIMS registration in Azure portal. |
8 |
ClientID |
Enter the Client ID generated during SapphireIMS registration with Azure or Google. |
9 |
Client Secret |
Enter the Client secret generated during SapphireIMS registration with Azure or Google. |
Click on 'Save' or 'Update'.
SapphireIMS application needs to be registered with the Office 365 service. Upon registering, Azure will issue the client credentials in the form of a client identifier (Client ID) and a Client Secret. The Client ID is a publicly exposed string that is used by the service to identify the application and is also used to build authorization URLs that are presented to users. The Client Secret is used to authenticate the identity of the application to the service when the application make a request to access a user's account and must be kept private between the application and the service.
 Note: If you have already
registered SapphireIMS in the Azure AD for login authentication, then
you do not need to create a new registration. Instead you can add a redirect
URI for the e-mail-to-record conversion in the existing registration.
Note: If you have already
registered SapphireIMS in the Azure AD for login authentication, then
you do not need to create a new registration. Instead you can add a redirect
URI for the e-mail-to-record conversion in the existing registration.
Login to the Azure portal at the following URL ' https://portal.azure.com ' with your Office 365 credentials. The Azure home screen is displayed.
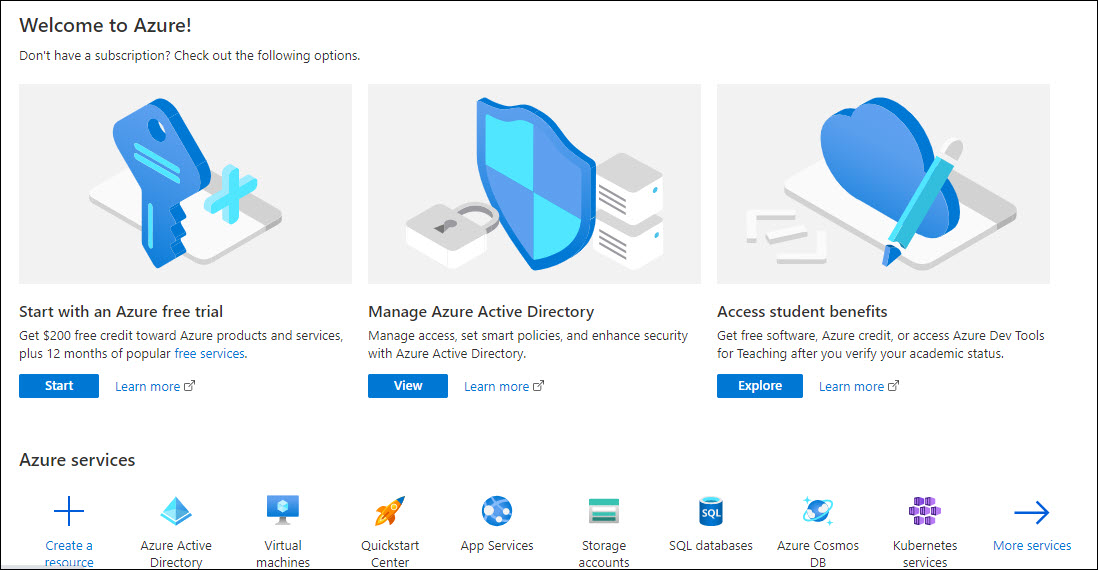
Click on 'View' under the option 'Manage Azure Active Directory'. The Active Directory page is displayed.
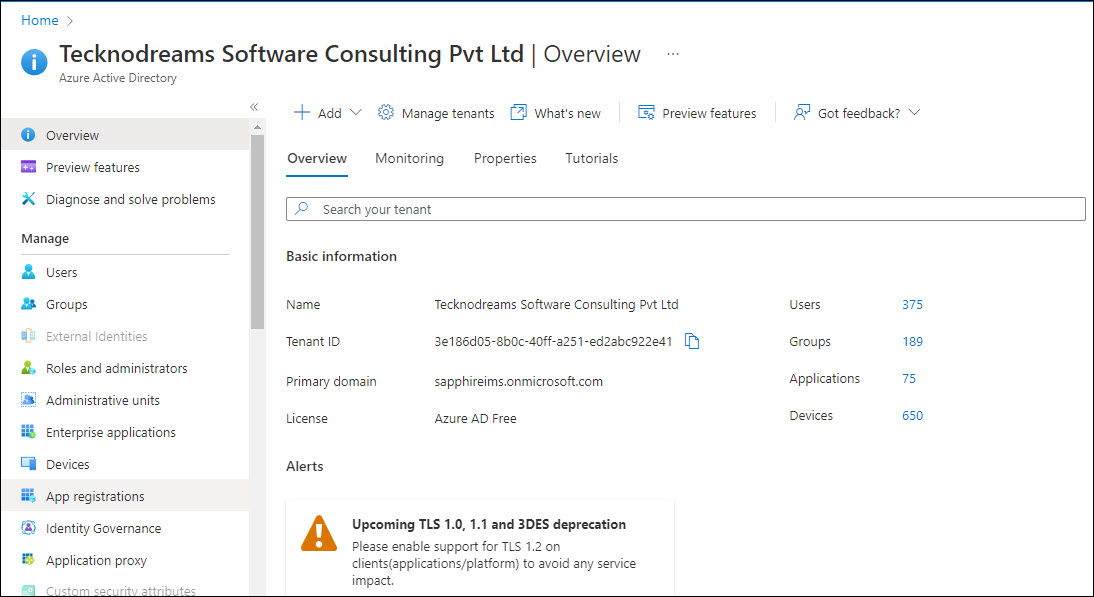
On the left hand menu, click on 'App registrations'.
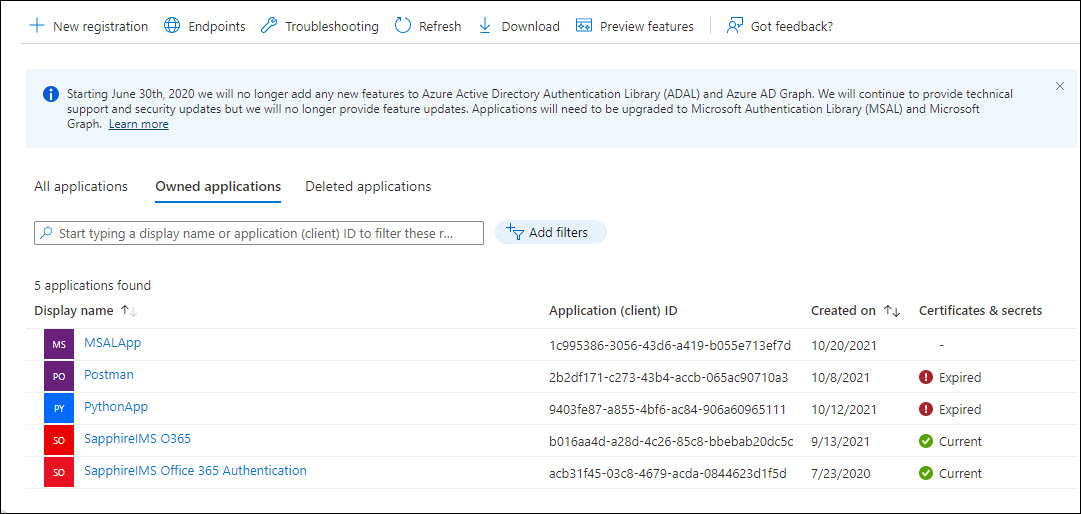
The list of applications registered are displayed.
Click on '+ New Registration' to register SapphireIMS for email-to-record authentication.
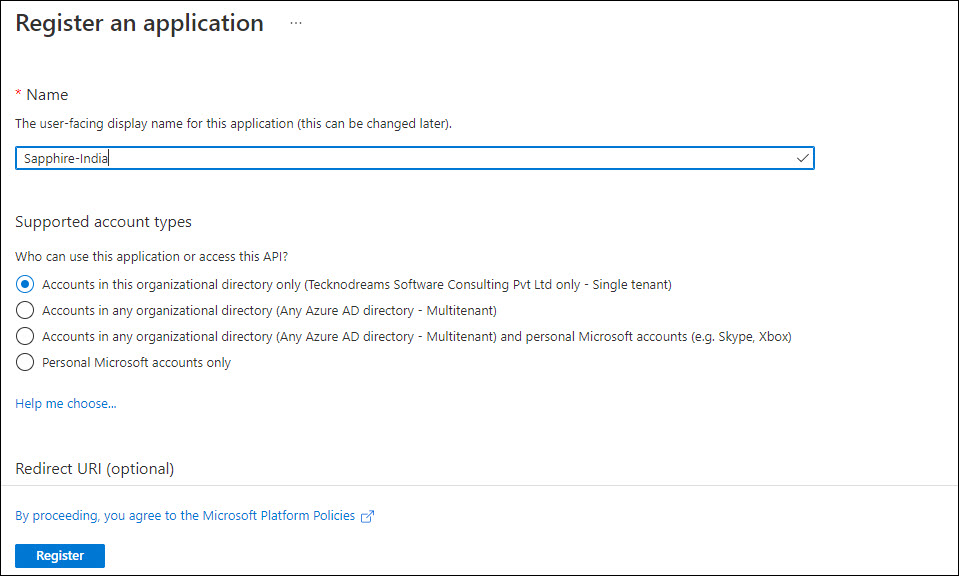
Enter the name for the application.
Select option 'Accounts in this organizational directory only'.
The Redirect URI can be entered from the field displayed in the Mail Profile screen (in the above example it is 'https://tecknodream7/SapphireIMS/Test/oAuth2/applicationLogin/alias/SapphireIMS-India').
Click on 'Register'.
The overview screen is displayed.
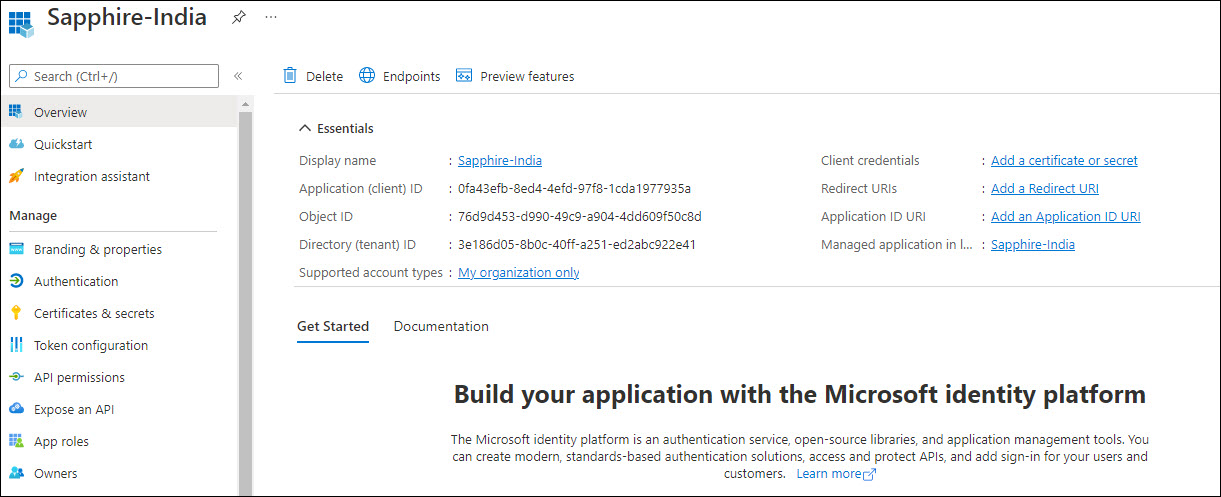
Copy the 'Application (client) ID' and 'Directory (tenant) ID' values into the corresponding fields in the Mail Profile creation screen.
Click on 'Authentication' on the left hand menu.
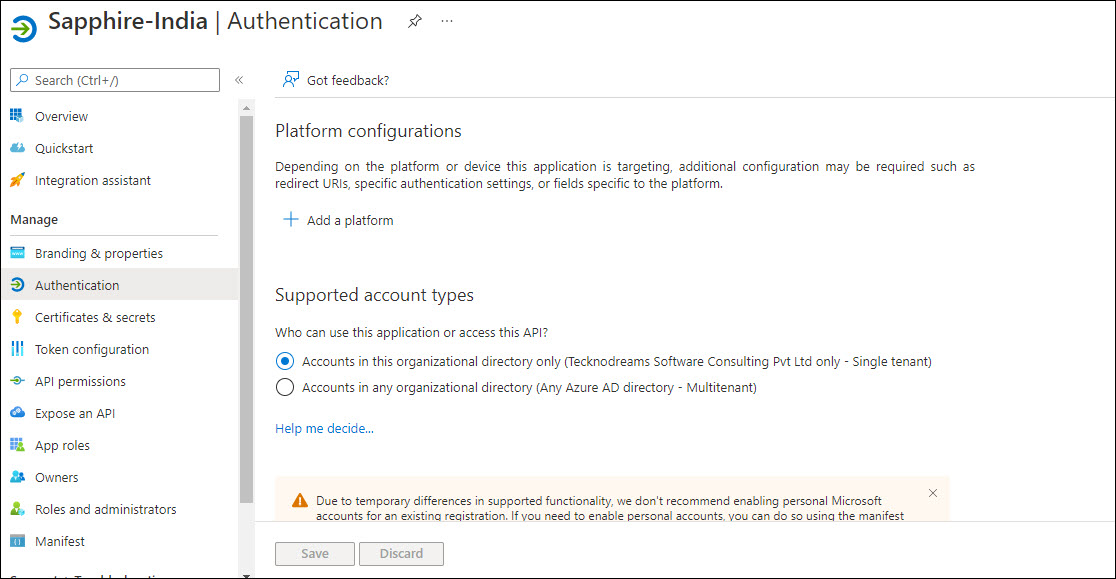
Click on '+ Add a platform'.
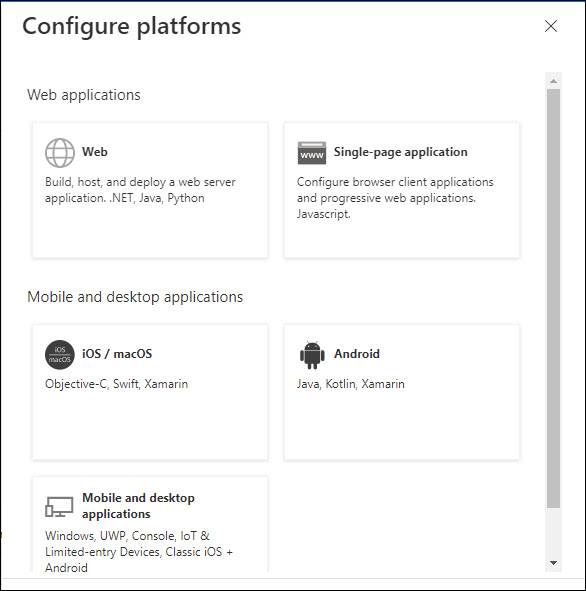
Select 'Web' in the screen above.
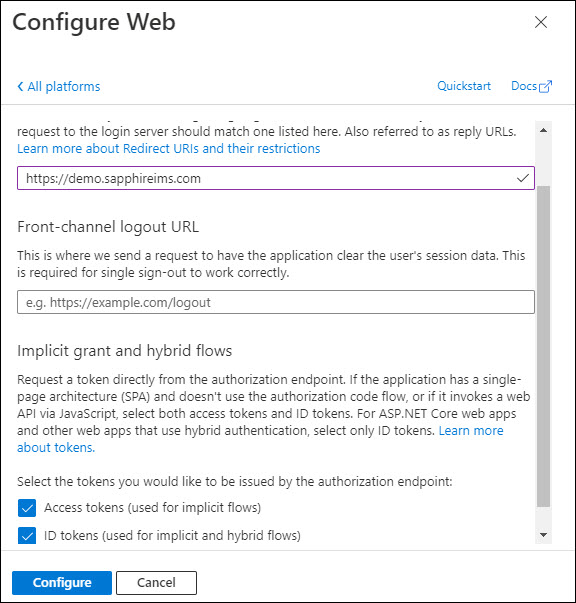
Check the boxes 'Access tokens' and 'ID tokens' and click on 'Configure' or 'Save'.
Click on 'Certificates & secrets' option on the left hand menu.

Click on '+ New client secret'.
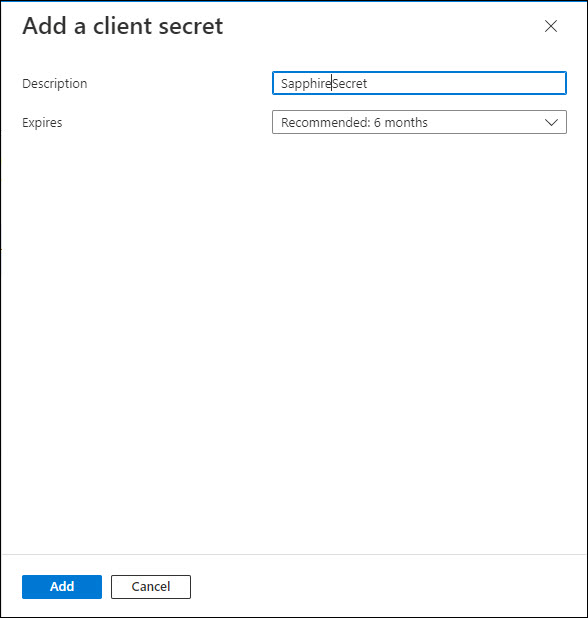
Enter a Description and select the Expiry.
Click on 'Add'. The client secret is generated and displayed.
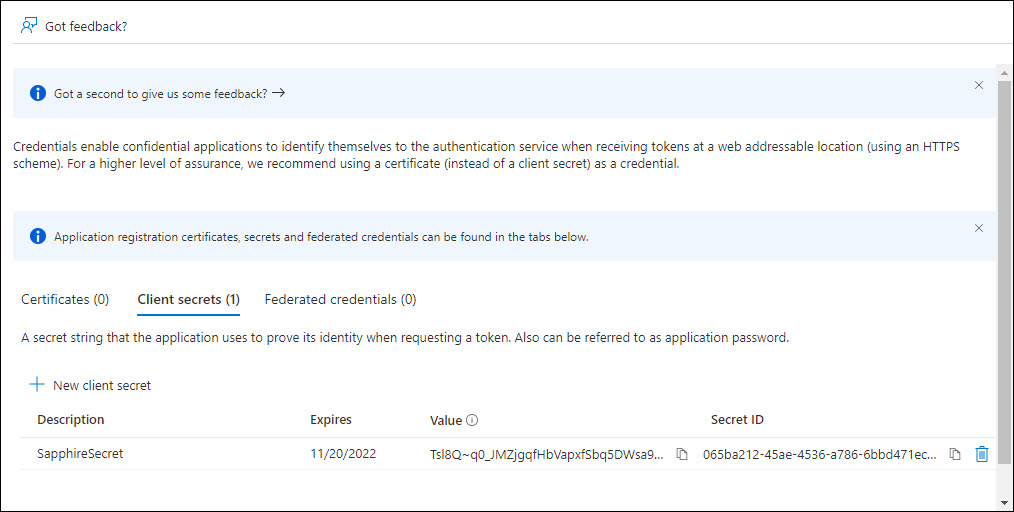
Copy the 'Value' into the corresponding field in the Mail Profile screen. Since the Value will not be available if this screen is exited, copy it also into a Notepad file and save.
Click on 'API Permissions' on the left hand menu.
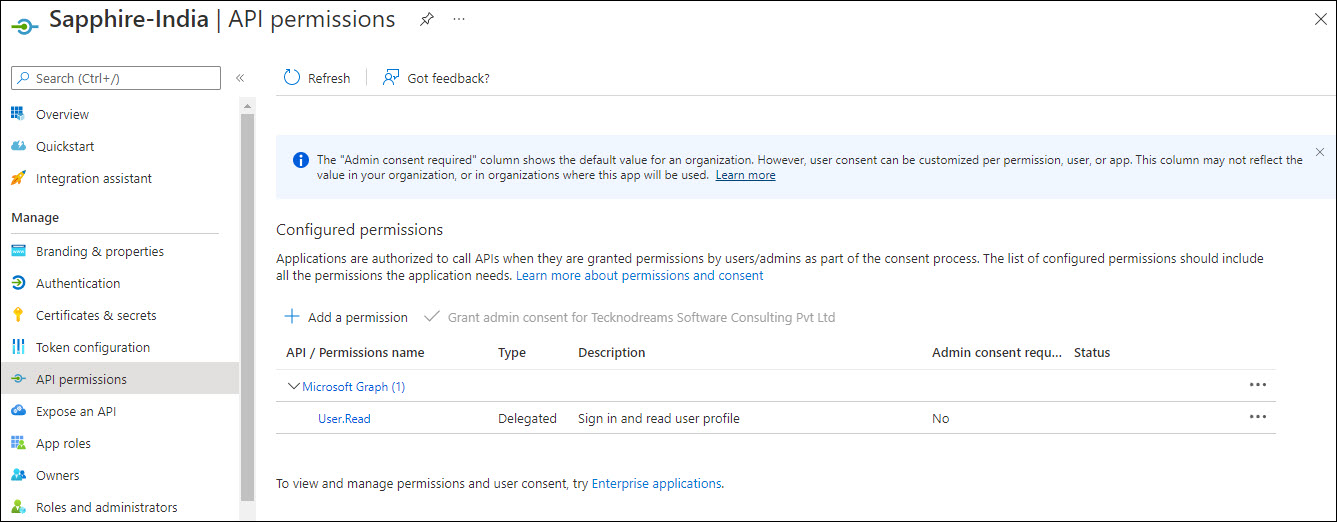
Click on '+ Add a permission'.
For Modern IMAP, refer to the section Configuring API Permissions for IMAP.
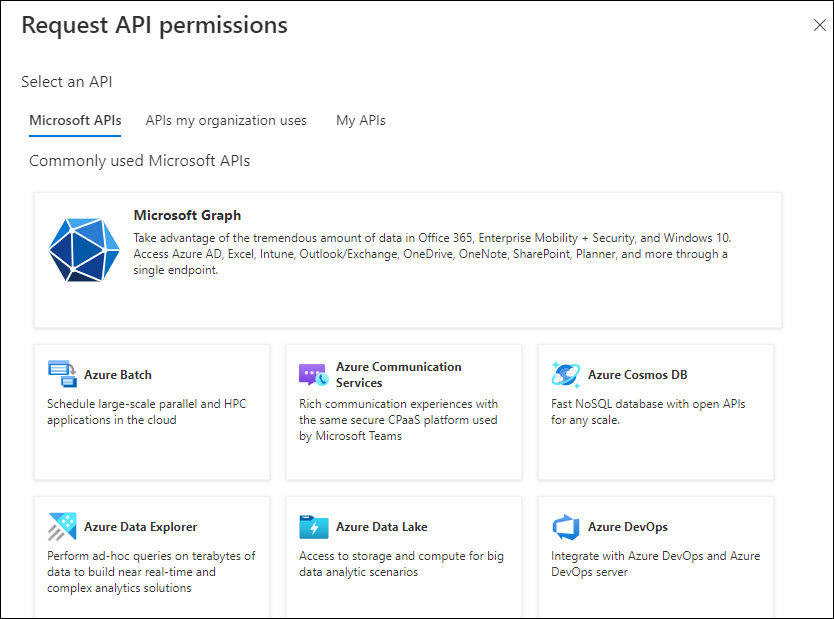
Select the option 'APIs my organization uses'.
Note: This is a work-around
as the Exchange API is no longer visible on the Azure Portal and this
will work only if Exchange API has been previously used in the organization
for other applications.
In the search box enter 'Office 365 Exchange Online'.
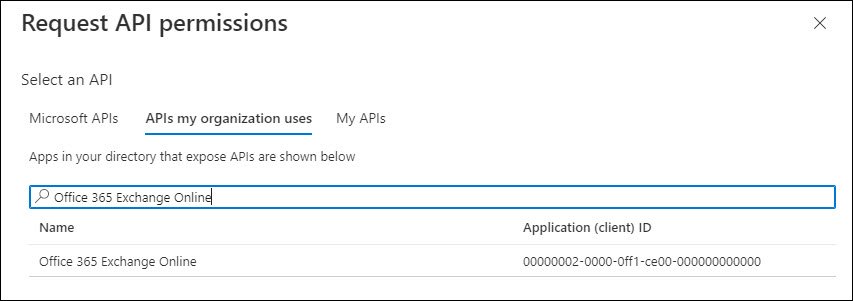
Select 'Office 365 Exchange Online'.
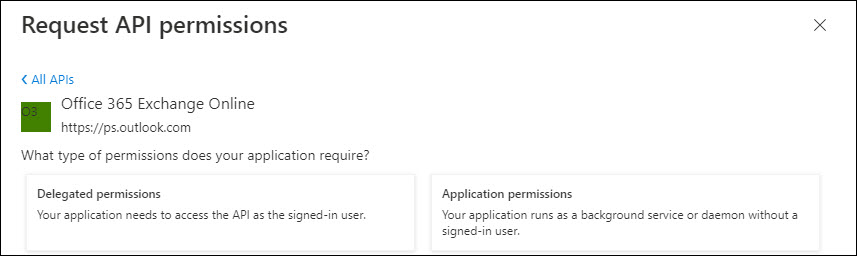
Click on 'Application permissions'.
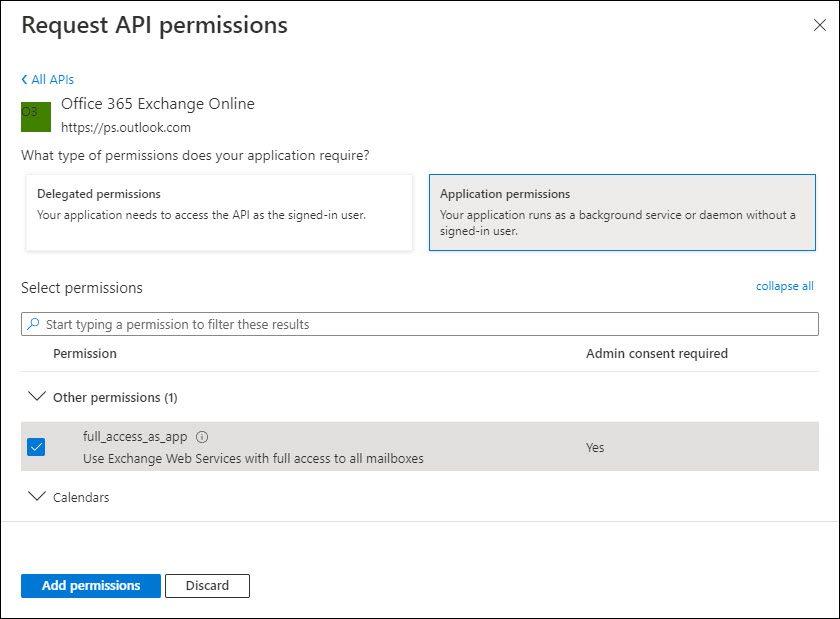
Select 'full_access_as_app'.
Click on 'Add permissions'.
The permission gets listed under Exchange. Select the permission and click on 'Grant Admin Consent'.
The next step is to configure the user name of the mailbox in Outlook from which the mails are to be read and converted into records. Contact your Exchange Administrator to add the permission for 'Application Impersonation' and select the members whose mailbox has to be read.
The following screen is displayed on clicking '+ Add a permission'.
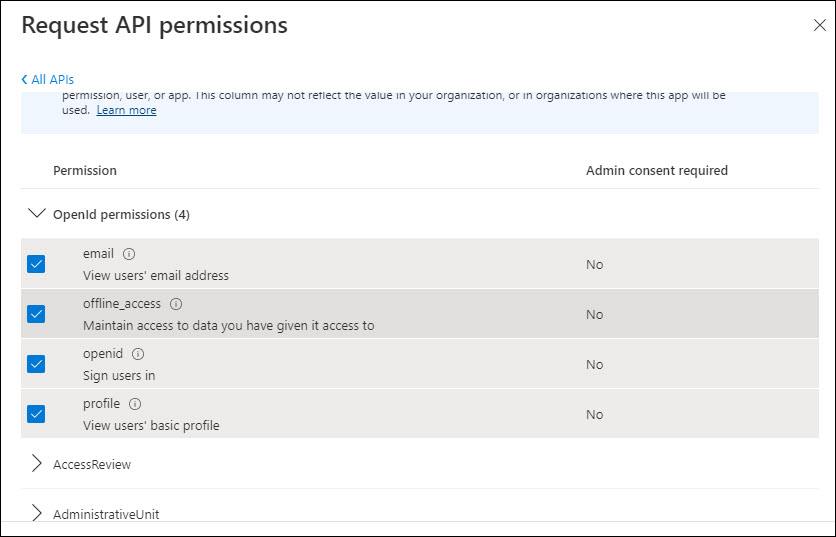
Select the option 'Microsoft Graph'. The screen expands to show further options.
Click on 'Delegated permissions'. The OpenId permissions are given by default. If not select the following permissions.
Scroll through the list till you see 'IMAP'.
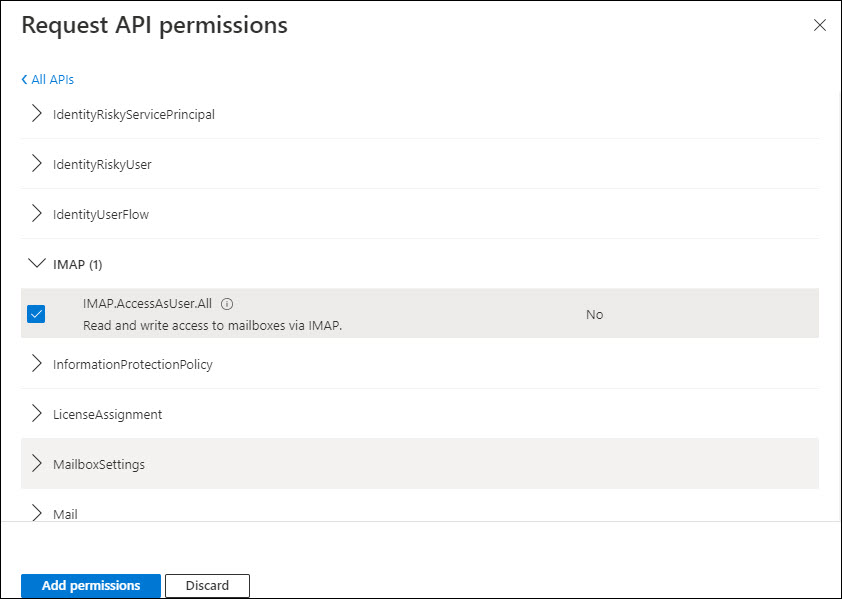
Select the permission and click on 'Add permissions'.
You are returned to the permission screen. Select the permissions and click on 'Grant admin consent' option.
Login to the Google Developer Console 'https://console.developers.google.com' with your Google credentials. The Google Developer console page is displayed.
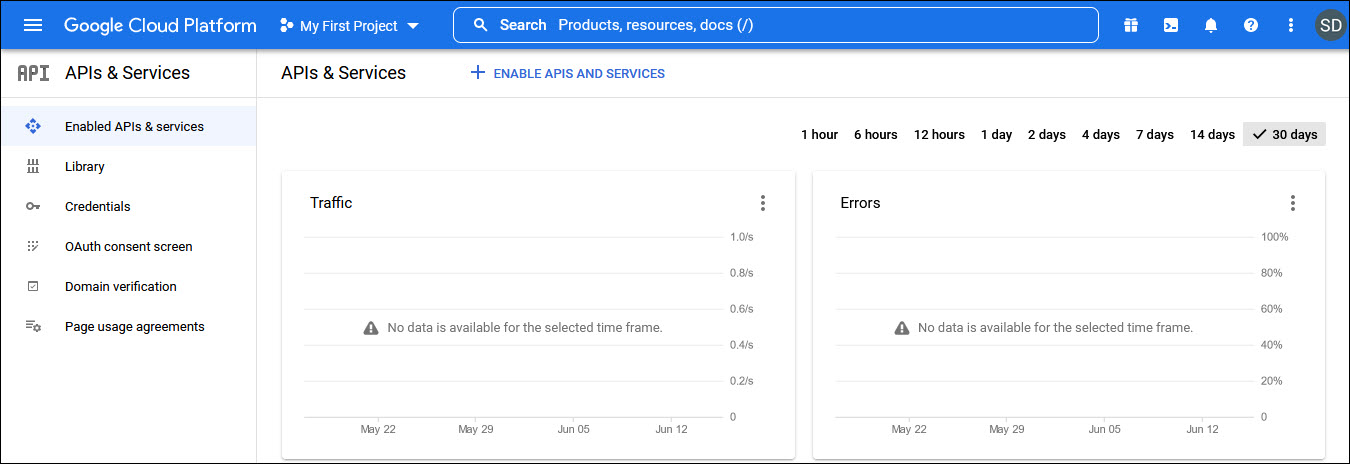
Click on Library and a screen to search for API is displayed.
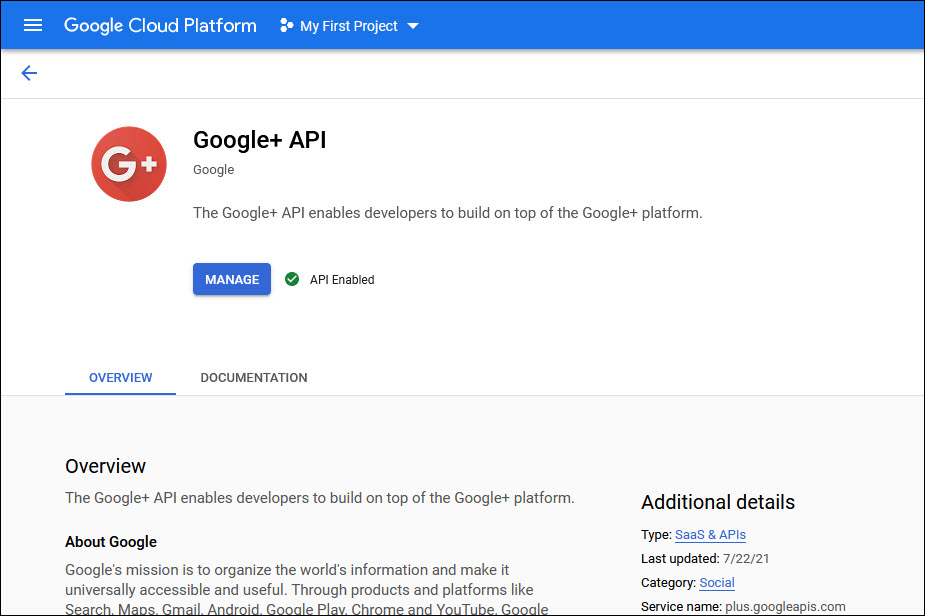
Enter 'Google+' in the search box. The Google API is displayed.
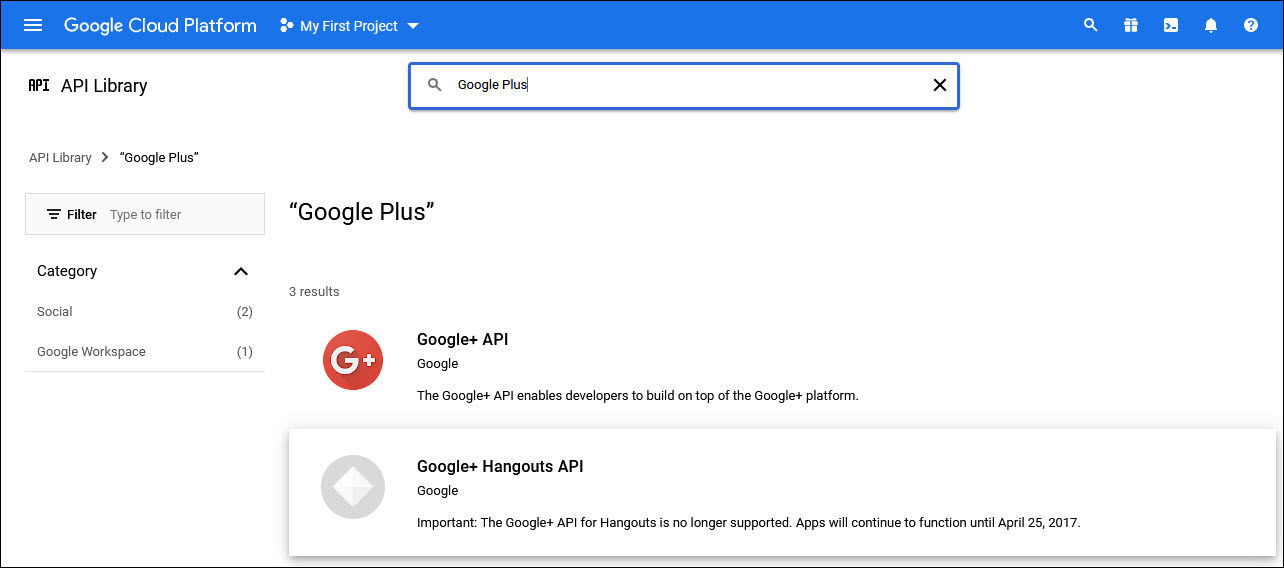
Select 'Google+ API'. The 'API Enabled' tick mark is displayed.
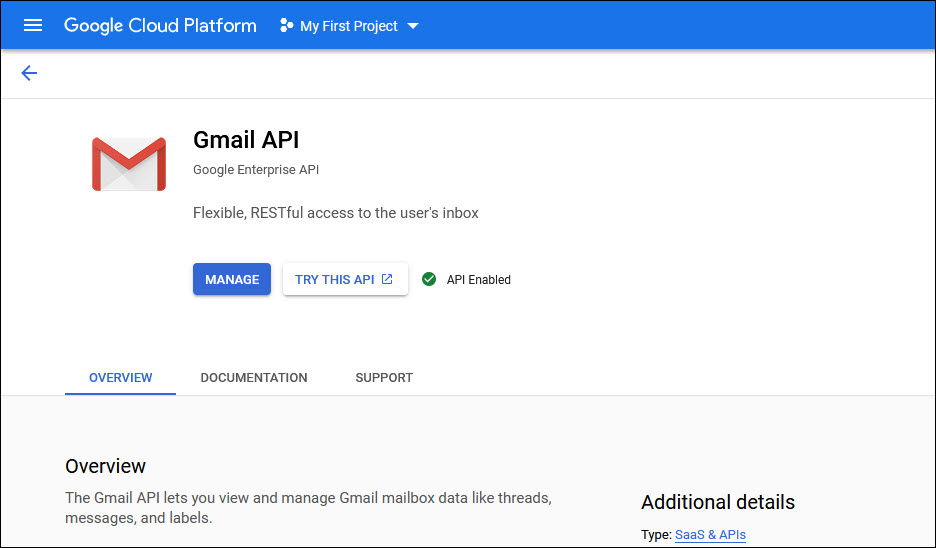
Repeat the process to select 'Gmail API'.
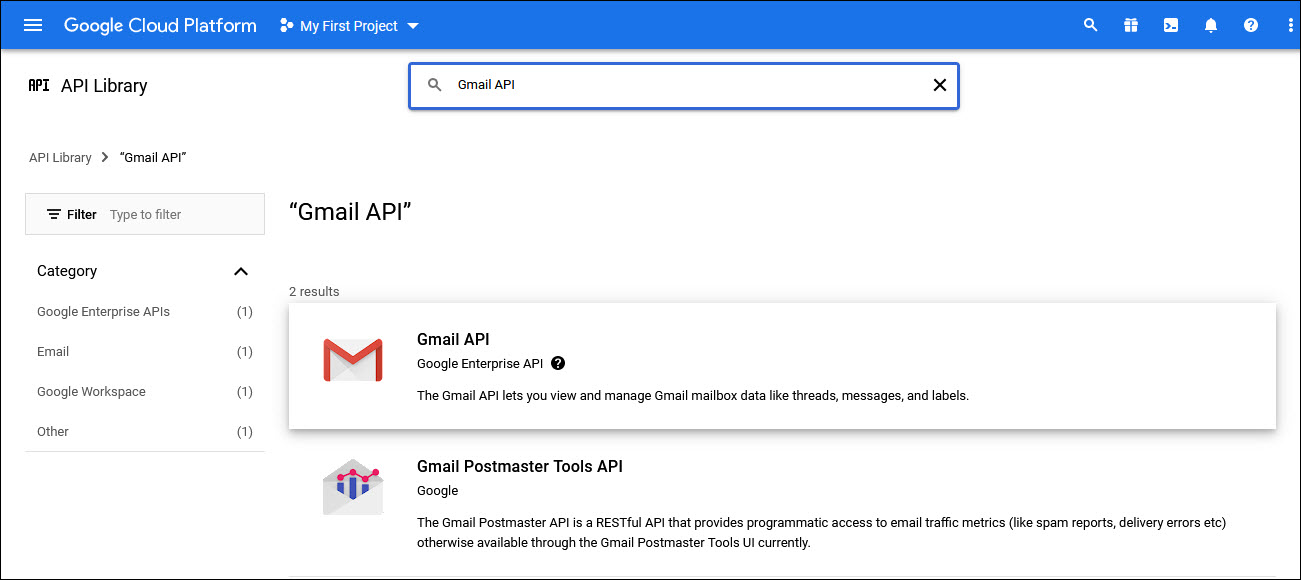
Select 'Gmail API' to enable it.
Return to the main menu by clicking on the left arrow on the top left and then 'API Library' followed by the left arrow again.

Click on 'OAuth consent screen' option on the left hand menu.
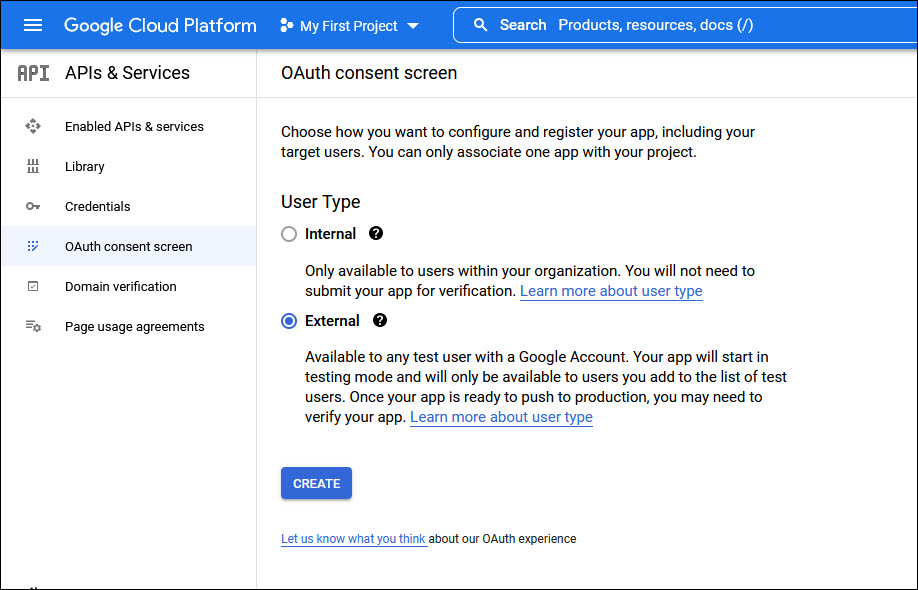
Select 'User Type' as 'Internal' if users are within the same organization or as 'External' if access is also allowed to users from outside the organization.
Click on 'CREATE'. The following screen is displayed.
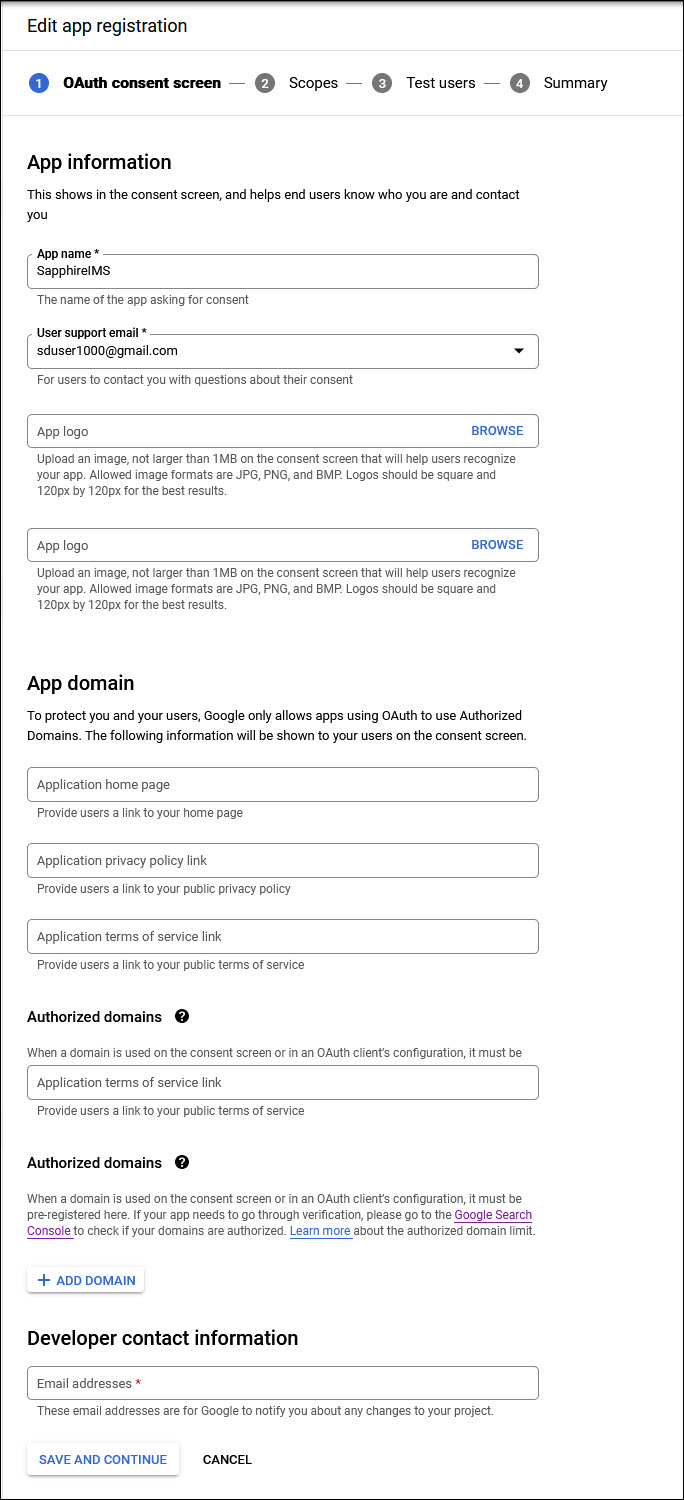
Enter the 'Application Name'. You can enter 'SapphireIMS'.
Enter the 'User Support email'.
Enter the 'Authorized Domain' which is your Domain Name.
Enter the 'Email address' under the Developer Contact Information.
Other fields can be left blank.
Click on 'SAVE AND CONTINUE'. The following screen is displayed.
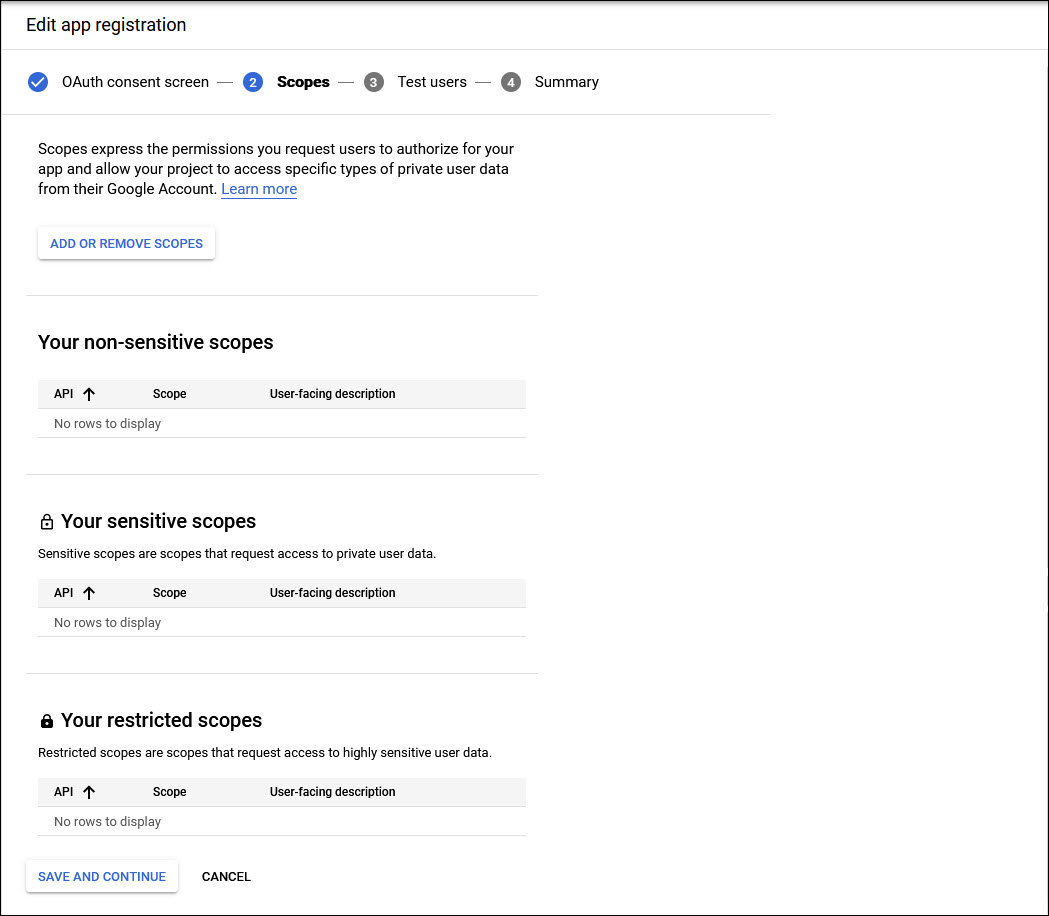
Click on 'ADD OR REMOVE SCOPES'. A screen pops-up with the list of scopes.
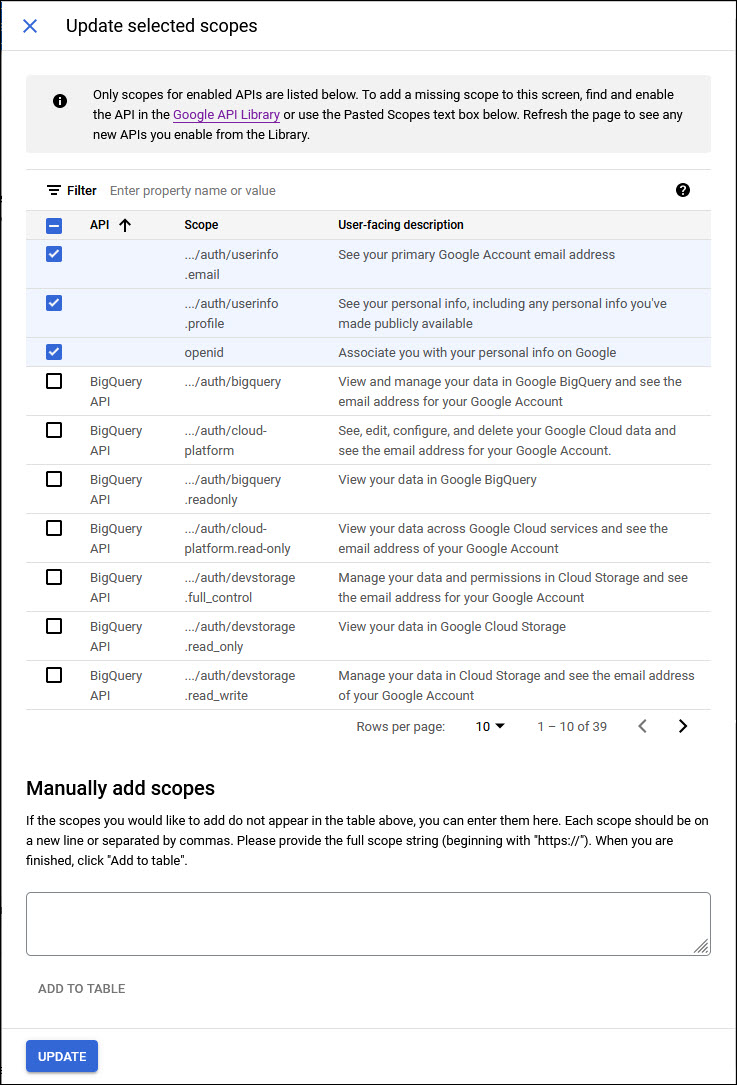
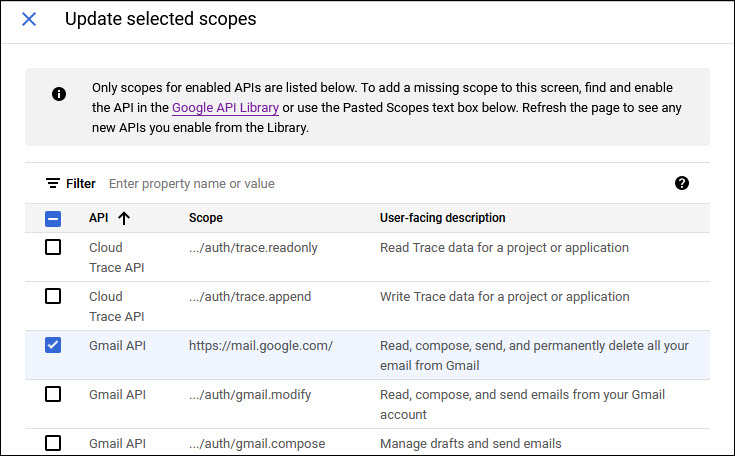
Select 'email', 'profile' and 'openid' on the screen. Scroll the pages and locate the scope 'mail' and select it.
Click on 'UPDATE'. The scopes are displayed.
Click on 'SAVE AND CONTINUE'. The screen to add Test users is displayed.
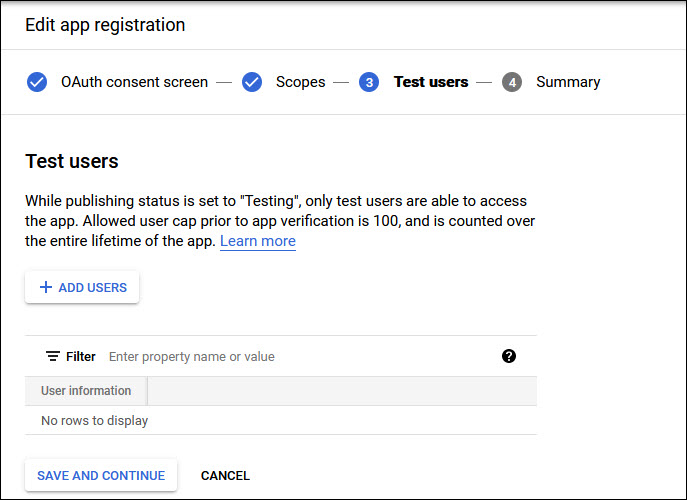
Nothing is to be added here. Click on 'SAVE AND CONTINUE' to return to the main screen.
Click on 'Credentials' in the left hand menu.
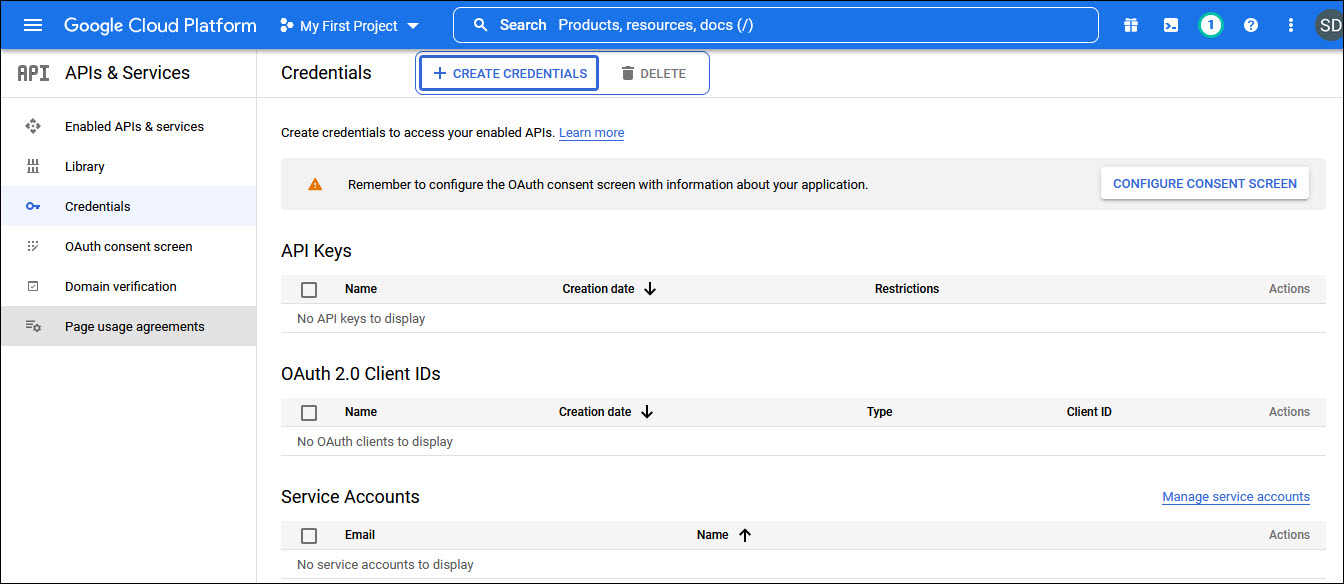
Click on '+ CREATE CREDENTIALS' to create the credentials. A drop down appears.
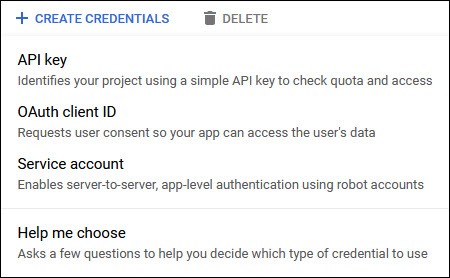
Select the option 'OAuth client ID'. The following screen is displayed.
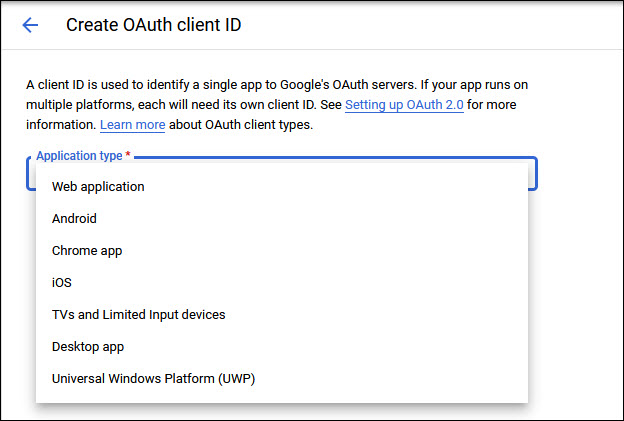
Next select the 'Application Type' as 'Web Application'.
Enter the 'Name' as 'SapphireIMS'.
Click on 'Create'.
Note: You can leave the Authorized
redirect URIs field blank for the initial configuration and update it
later from the URI in the mail profile.
A pop-up window is displayed with the Client ID and Client Secret. Copy these into a text file and save it as it is needed to be updated in the mail profile.
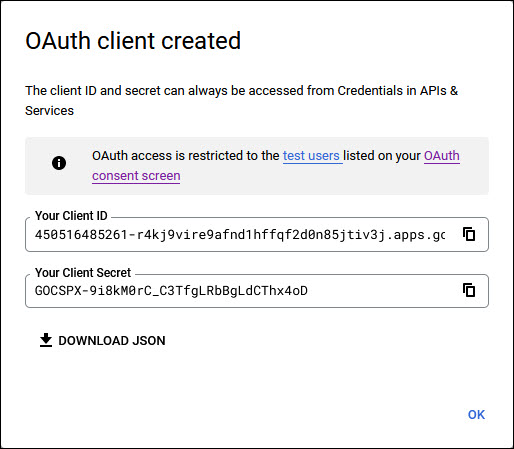
Click on 'OK'.