![]()
![]()
This is the intermediate step between Scanning and Deployment of Patches in your network. This step comes into effect if 'Auto Approval' option is not enabled in Patch Scan Settings. The administrator must approve all the missing patches before they get downloaded and deployed in the target system.
Once a patch is approved it will be deployed for all the affected systems.
To approve a patch for the normal
systems or critical systems, on the SapphireIMS menu, point to ‘IT Automation' and click ‘Patch Management’. Select the  'Windows Patches' option. Click 'Missing Patches' tab. This screen
displays all the missing patches in your network.
'Windows Patches' option. Click 'Missing Patches' tab. This screen
displays all the missing patches in your network.
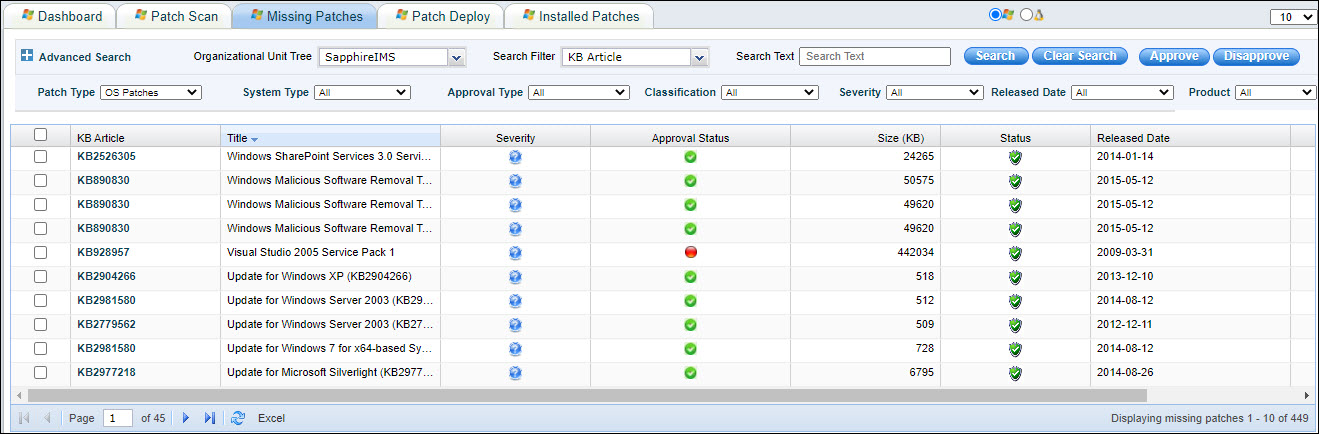
Select 'Patch Type' as 'OS Patches'.
In the ‘System Type’ drop down box select ‘Normal Systems’ or ‘Critical Systems’ as required.
In the ‘Approval Type’ drop down box select ‘Not Approved Patches’.
You can filter the listing based on the 'Organizational Unit Tree'.
Use the search filter to select a search criteria like ‘KB Article’, ‘Status’, 'Approval Status' or ‘Bulletin ID’ and then enter the value in the Search Box.
Refer to Patch Management->Windows Patch Management->Windows Patch Scan->Advanced Search for using the Advanced Search options. In Advanced Search you can also select based on a 'Custom Field'. Select a 'Custom Field' and select the 'Criteria' to filter and enter the value in the Search box.
Select the patches and click the ‘Approve' button. This process approves the patch for the selected system type where the patch is missing.
You can also select patches and click on 'Disapprove' button to move an approved patch to the disapproved list.
Notes: All the patches downloaded from the Microsoft site will be stored in the location <Installed-Directory>\Console Management\ExternalWar\PatchManagement.war folder. Ensure that there is sufficient space in the drive where SapphireIMS is installed