![]()
![]()
When a new record is submitted, it needs to be first assigned to a Service Desk Engineer who will act on it. Records can be assigned to any individual who has the 'Technician' role allocated. Records can also be assigned to a Workgroup where anyone who is part of the workgroup can act on the record.
As action is taken on the record to progress to resolution, it follows the workflow defined for the project to which it belongs. The progress is determined by the state transitions which are milestones in the entire workflow and signal that an activity is complete. Individuals who perform the necessary activity in the state need to move the state of the record to the next state on completion. There can be multiple possible states and one state has to be selected.
There are states which need actions by other individuals. For example if a service request is in 'Waiting for Approval' state, then the Approval Manager has to approve or reject the request and move the state to 'Approve' or 'Reject'. The workflow progresses till the last state which is typically the 'Close' state.
In each state transition, records can be configured to input additional information which is typically generated during the activities performed in that state. For example, when moving a Problem record to 'RCA Submitted' state, the RCA information, along with the environment and steps to reproduce the problem needs to be entered.
The state transition procedure is the same for all projects. However the states names and specific fields to input during each state transition could vary. Refer to Performing State Transitions for details. Apart from the state transitions, at any point the submitter or the owner can also cancel the record after which no further operation can be performed on the record. Refer to the section Cancel the Record for the steps.
There are in-built workflows for Incident Management, Service Fulfilment, Problem and Change Management. You can also create your own workflow by either modifying the existing workflow template or using a blank template.
Click on the 'Submit as' option and select 'Assign'.

You can use the filters in the table below to select the engineer to whom the record has to be assigned.
|
Click on 'Confirm' to update.
To assign the record to a workgroup, click on 'Show Actions', 'View Details' and 'Edit Details'.
Select the 'Workgroup' field.
Click on 'Update' to update the record.
Subsequently the record appears under the "My Workgroup" tab of all the users belonging to that group. Any user can then proceed to 'Assign' the record or carry out any further updates on the record.
Click on the 'Submit as' option and select the state to which the transition should be done. A transition entry screen is displayed with all fields which need to be input for that state. If there are no specific fields, at the minimum a 'Comment' field is available to enter any remarks. The field descriptions are given in the individual projects.
The state name is displayed on the entry screen.
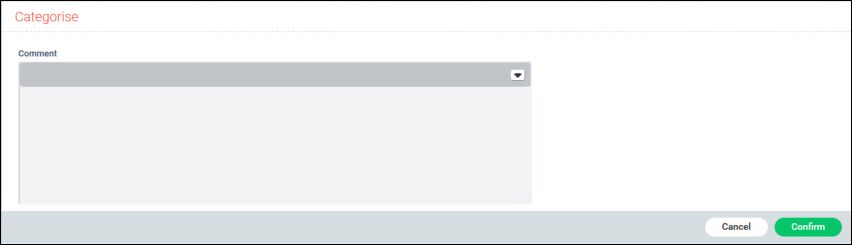
Add comments, if any and click on 'Confirm'. The state changes to the selected state.
Click on 'Cancel' if you want to cancel the operation.
 Note: If any mandatory field
is missing which could be the case when the record is created through
E-mail, SMS or using the API, an alert is displayed to update the missing
information and state change cannot proceed.
Note: If any mandatory field
is missing which could be the case when the record is created through
E-mail, SMS or using the API, an alert is displayed to update the missing
information and state change cannot proceed.
Click on the 'Submit as' option and select 'Cancel'.
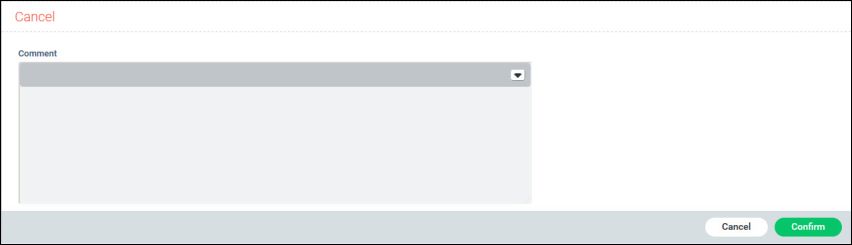
Enter the 'Comment' and click on 'Confirm' to update the state.