![]()
![]()
Workgroups can be created whereby records which can be categorized as belonging to that workgroup are grouped and common access provided to all users who are allocated 'Technician' roles and belong to the Workgroup. For example, records belonging to 'Desktop Service' can moved to the 'Desktop Workgroup' and access provided to a set of roles/users who will work on the Desktop records.
The records belonging to the workgroup are visible to the Service Engineers who belong to that workgroup and displayed under the 'My Workgroup' option in the record listing. A typical practice is to group sub teams which are responsible for a specific part of the IT infrastructure like servers, networks, applications etc. into a workgroup. Organizing as workgroups allows all of the team belonging to that workgroup to have visibility to all the records.
Click on 'User/Role Management' option on the right hand side panel.
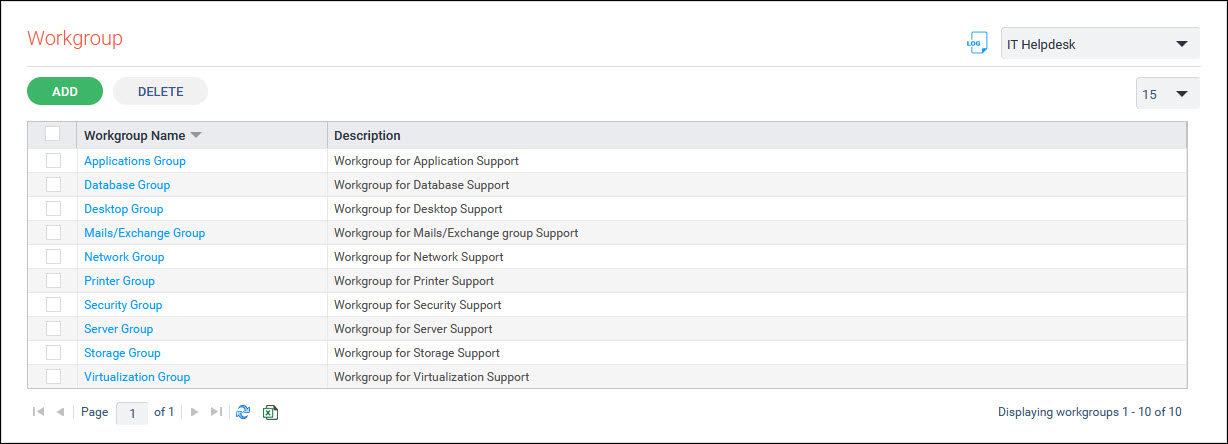
Click on 'Workgroup'. The list of workgroups is displayed. For the projects which are pre-shipped, there are certain workgroups which are predefined. This can be edited or new workgroups defined.
Click on 'ADD'. The workgroup creation screen is displayed.

The fields are described below.
| |||||||||||||||||||||||||||||||||||||||||||||
 Note: It is mandatory to
select any one of the Service, Category, Sub Category, Location or Department
fields for the record to be submitted to the selected users in their respective
‘My Work Group’ tab.
Note: It is mandatory to
select any one of the Service, Category, Sub Category, Location or Department
fields for the record to be submitted to the selected users in their respective
‘My Work Group’ tab.
Enter the fields and click on 'Save'.
If a user who has inherited the role of either 'Approval Manager' or 'Technician' logs in, then the My Workgroup tab becomes visible for that user and all the records which match the criteria for that workgroup the user belongs are listed.
Select one or more workgroups and click on 'DELETE' to delete the workgroups.