![]()
![]()
Custom Forms allow you to publish forms to target machines and collect data from them. You can create and distribute forms as well as announcements. You can specify the name, default value and data type of the custom fields in forms and you can republish forms in case of any failure to launch forms or if the data entered in the form is inaccurate.
1. Click the 'Settings' tab. In the 'Asset and Inventory Management' section, click 'Custom Data Forms' . This displays the list of custom data forms. To add a new form, click 'Add'

2. Enter the Form Name and Form Description
3. To add the form fields, click 'Add'
4. Click the plus sign to add a new field. Enter the field name and select the data type of the field.
5. Repeat steps 3 and 4 to add fields.
6. Click 'Save' to save the form
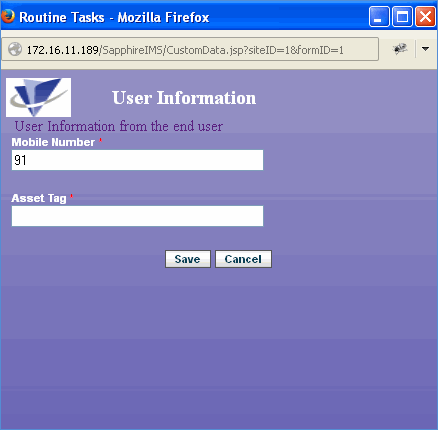
7. Click 'Preview' link in the custom forms listing page to preview the form

Click on any topic below to view it in detail
Note: To upload a custom image file for the custom data form, go to Settings > Advanced System Settings > Customize Appearance and select the custom form logo. In case of MSP setups, this custom image has to be placed manually in the probe in the following path.
1) <Installed Path>\WebManagement\standalone\deployments\SapphireIMS.war
2) <Installed Path>\ConsoleManagement\ExternalWar\SoftwareRepository.war
The image name has to be CustomDataForm.png when it is placed manually in the probe.