![]()
![]()
SapphireIMS provides a standard list of custom fields/field type as part of the factory settings. These field types can be used for adding Additional Fields in a Service Desk Record. However there may be a need to add custom field types.
Click on the 'Settings' tab. In the 'Service Desk Configuration' section or in the 'Asset and Inventory Management', select 'Form Fields'. This lists the currently available in-built and custom fields.
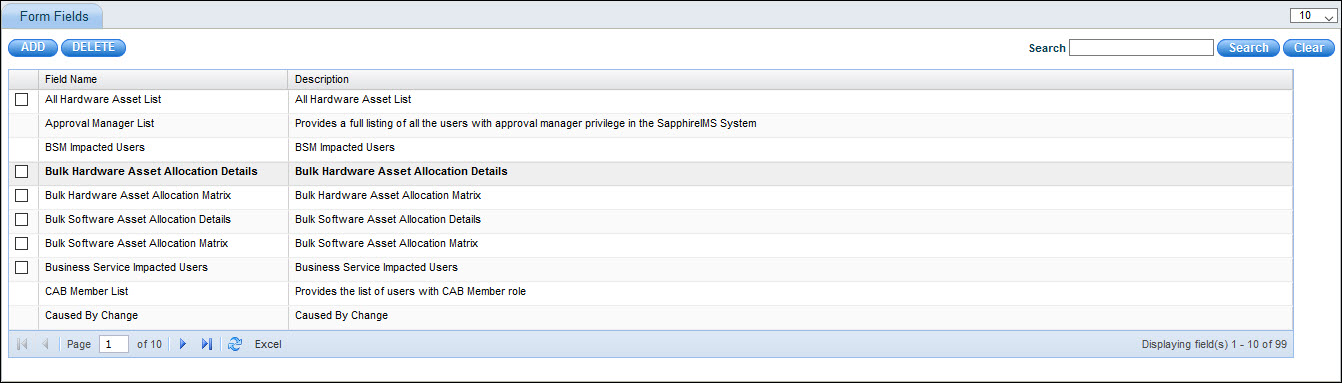
The custom fields can be added, deleted or edited.
Click on 'ADD' to add a new custom field.
To delete a custom field, click on the check box against it and click on 'DELETE'.
Click on any custom field to edit.
 Note: In-built fields cannot
be edited or deleted.
Note: In-built fields cannot
be edited or deleted.
Click on 'ADD' to add a new custom field.

Enter the 'Field Name' and 'Description'.
Select the 'Field Type'. There may be other fields to be entered depending on the Field Type selected.
Once all the fields are input click on 'Save' to save the field type.
The Field now appears when selecting a field type while adding additional fields in Service Desk or in CMDB.
The fields are described in the table below
Note: For all fields where
values can be configured as Dynamic, a MySQL Query is used to populate
the field values. Since writing Queries requires deep knowledge of SapphireIMS
Database, contact SapphireIMS Support for help on getting the Query.
|
The various field types are described below.
The Text Box is used for entering a single line of text. Enter a 'Default Value' if needed.
The field is displayed as shown below.

The Text Area is used for entering a multiple lines of text. Enter a 'Default Value' if needed.
The field is displayed as shown below.
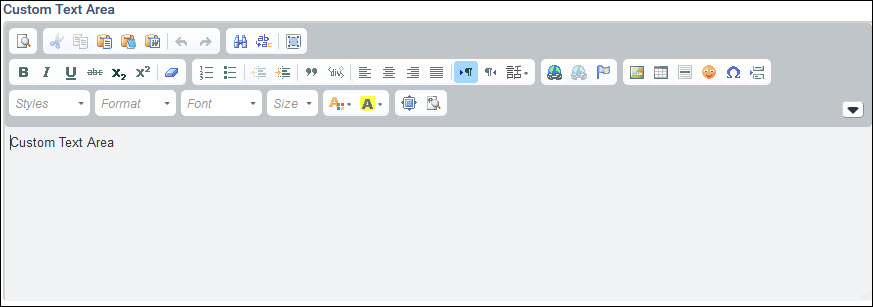
The arrow on the right hand side is used to expand and collapse the text editor panel. Using the editor controls, the text can be formatted in any manner. The editor also supports HTML input.
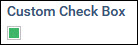
The Check Box is used to check or un-check a field. If 'Is Selected' is checked, then when displaying the check box, it is displayed as checked.

The field is displayed as shown below with the field name followed by the check box.
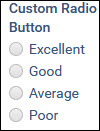
The Radio Button is used to select one option among the ones displayed.
The 'Data Source' can be selected as 'Static' in which case the values can be specified.
To specify a value enter the value in 'Default Value' and click on 'Add Values'. Repeat to add more values.
If the 'Data Source' is selected as 'Dynamic', then a MySQL Query has to be entered in the 'DB Query' field. The Query is expected to return the values for the Radio Button options.

The field is displayed as shown below.
The Select box is used to display a drop down list of values and the user can select one value. Select 'Sort' to display the list of values in a sorted order.
The 'Data Source' can be selected as 'Static' in which case the values can be specified.
To specify a value enter the value in 'Default Value' and click on 'Add Values'. Repeat to add more values.
If the 'Data Source' is selected as 'Dynamic', then a MySQL Query has to be entered in the 'DB Query' field. The Query is expected to return the values for the multi-select list.

The field is displayed as shown below
The search box allows a search value to be input and only entries containing the search value is displayed.
Only a single value can be selected.
Note: You can use either
the Multi-Select Box or Searchable Multi-Select Box and the behavior is
identical. Both allow searches and multi-selection.
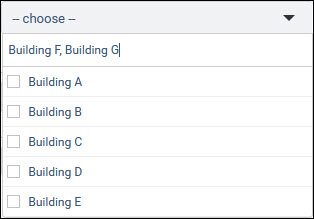
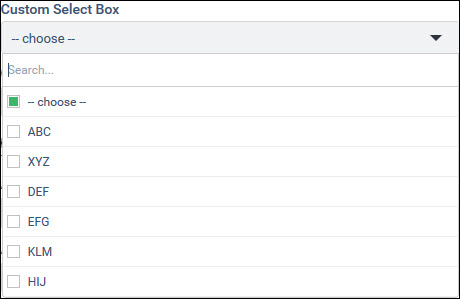
The Multi-Select box is used to display a drop down list of values and the user can select multiple values. Select 'Sort' to display the list of values in a sorted order.
The 'Data Source' can be selected as 'Static' in which case the values can be specified.
To specify a value enter the value in 'Default Value' and click on 'Add Values'. Repeat to add more values.
If the 'Data Source' is selected as 'Dynamic', then a MySQL Query has to be entered in the 'DB Query' field. The Query is expected to return the values for the multi-select list.

The field is displayed as shown below

The search box allows a search value to be input and only entries containing the search value is displayed.
On selecting multiple values, the values are taken as comma separated.
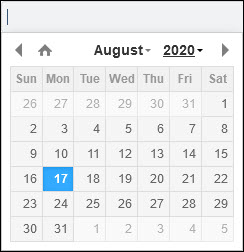
The Date field is used to input a Date value from a Date Picker which is displayed. If 'now' is entered as the Default Value then the current date is shown when the Date field is displayed.

The field is displayed as a Date Picker.
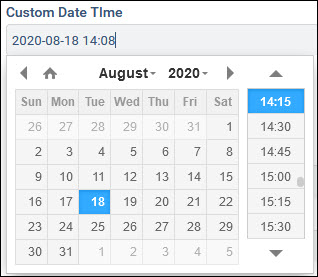
The Date / Time Field allows the entry of Date and Time values. If 'now' is entered as the Default Value then the current date and Time is shown when the field is displayed.

The field is displayed as a Date and Time Picker.
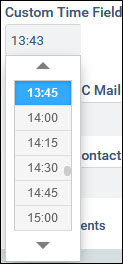
The Time Field allows the entry of Time values. If 'now' is entered as the Default Value then the current Time is shown when the field is displayed.

The field is displayed as a Time Picker.
The Grid Control Field is used for entering data in a grid format. The number of columns in the Grid, column labels, field types, data type (Type) and widths can be specified. While saving the configuration, validation is done to ensure that the data type is consistent with the field type selected.
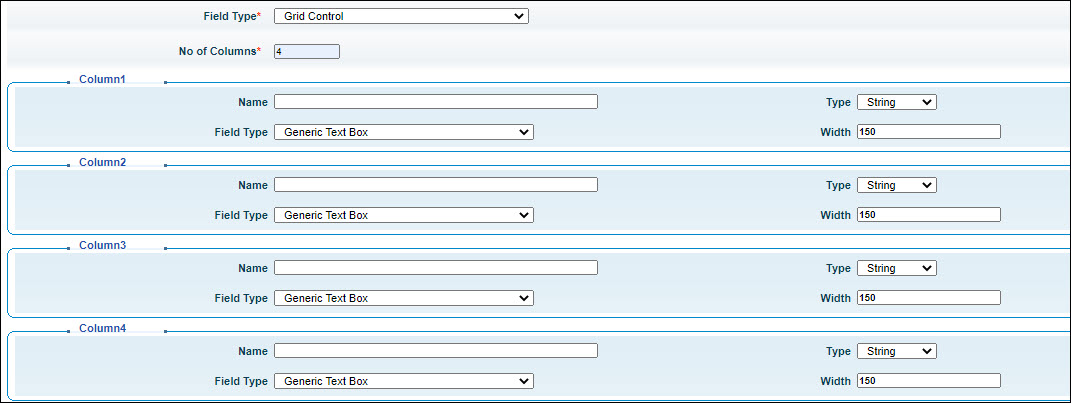
The field is displayed as shown below
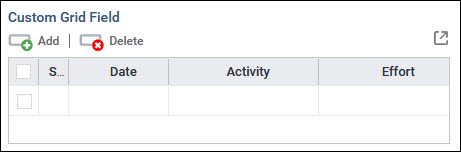
Any number of rows can be entered by clicking on 'Add' and rows can be deleted by selecting them and clicking on 'Delete'.
The Calendar Event field is used for input of event or activity information in a columnar format with 4 columns. The start and end dates along with Title and Description of the Event can be captured. The column labels and field widths can be configured.
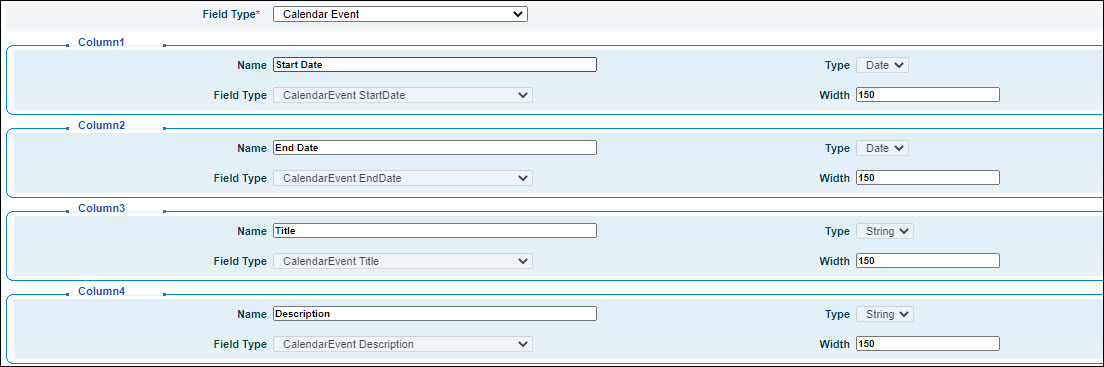
The field is displayed as shown below.
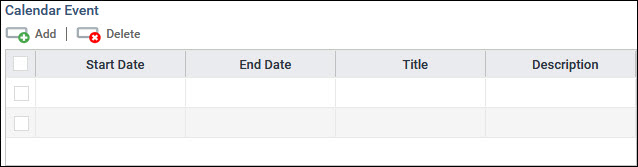
Any number of rows can be entered by clicking on 'Add' and rows can be deleted by selecting them and clicking on 'Delete'.
The File Upload Field is used for attachments. You can specify the file types (extensions) which can be allowed.

The field is displayed as shown below with the name of the field.

On clicking the field, a pop-up is displayed to get the file details.
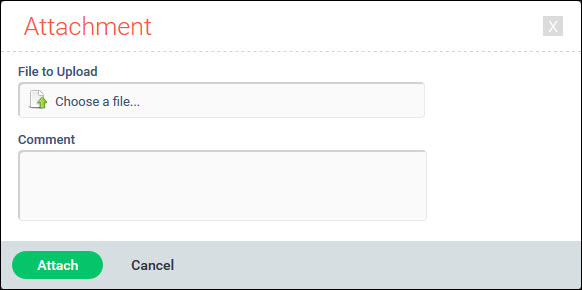
There is a 'Comment' field to allow comments to be entered.
The Label field is used to display the name of the field as a Label. This is a display only field.
The Title field is used to display a Title for groups of fields which may be defined below and to allow for expanding and collapsing the section below. This is a display only field.
The Sub Title field is used to display a Sub Title for groups of fields which may be defined below. This is a display only field.
The Hyperlink field is used to display Hyperlinks which can be clicked to navigate to the links.
If the 'Data Source' is selected as 'Static', then enter the 'Display Name' of the link and the 'Link' and click on 'Add Values'.
If the 'Data Source' is selected as 'Dynamic', then a MySQL Query has to be entered in the 'DB Query' field. The Query is expected to return the values for the Hyperlink.

The field is displayed as shown below.

The links can be clicked on to navigate to the pages.
The Asset Creation field is used to input data for creating a new asset and creating it in CMDB. Select the 'Asset Module' under which the Asset has to be created and the 'Image' to be displayed.

The field is displayed as shown below.

On clicking the field, a pop-up screen appears to capture the Asset information.

The 'Asset Type' can be selected. On clicking 'Generate' the Asset Number is generated.
Depending on the Asset type selected, the rest of the attribute fields for the Asset are displayed and can be entered.
Click on 'Save' to create the asset.
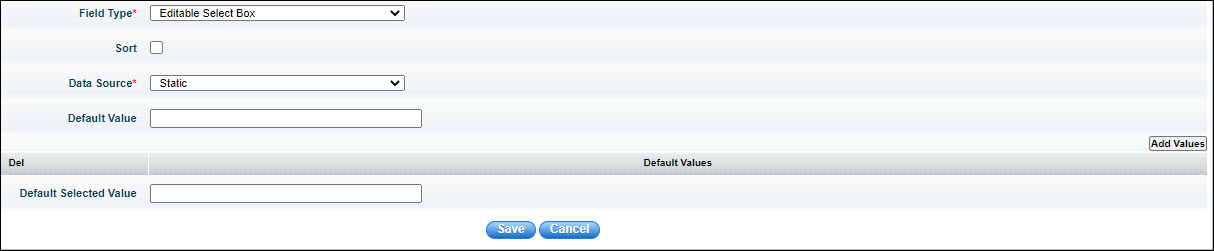
The Editable Select box is used to display a drop down list of values and the user can select one value. If the desired value is not available among the selections, the user can enter any value in the box provided.
Select 'Sort' to display the list of values in a sorted order.
The 'Data Source' can be selected as 'Static' in which case the values can be specified.
To specify a value enter the value in 'Default Value' and click on 'Add Values'. Repeat to add more values.
If the 'Data Source' is selected as 'Dynamic', then a MySQL Query has to be entered in the 'DB Query' field. The Query is expected to return the values for the multi-select list.
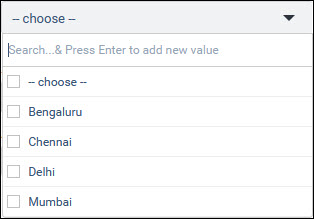
The field is displayed as shown below. You can either search for and select a value from the list or press 'Enter' and type in the value.
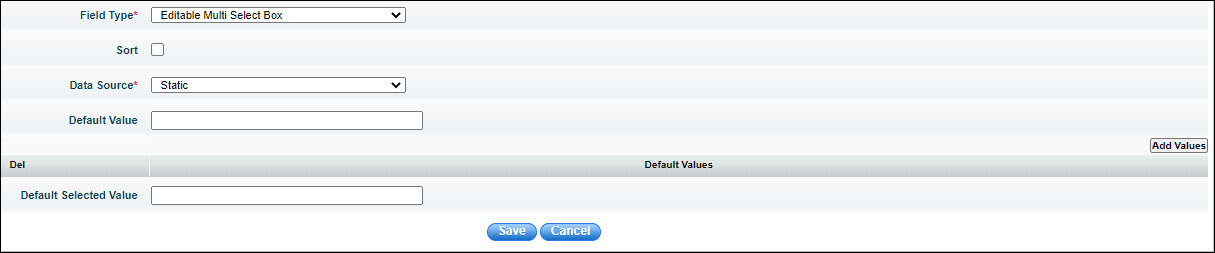
The Editable Multi-Select box is used to display a drop down list of values and the user can select multiple values. If the values are not present in the list, the user can type in multiple values separated by commas.
Select 'Sort' to display the list of values in a sorted order.
The 'Data Source' can be selected as 'Static' in which case the values can be specified.
To specify a value enter the value in 'Default Value' and click on 'Add Values'. Repeat to add more values.
If the 'Data Source' is selected as 'Dynamic', then a MySQL Query has to be entered in the 'DB Query' field. The Query is expected to return the values for the multi-select list.
The field is displayed as shown below. You can either search for and select a value from the list or press 'Enter' and type in the values separated by commas.