![]()
![]()
Single sign-on (SSO) is a concept that allows users gain access to multiple, independent software systems by logging in once only. Similarly by signing out once, the user can terminate access to multiple systems.
SSO is supported by different authentication mechanisms. SapphireIMS supports SSO using an LDAP/AD server or using SAML with Identity Providers such as ADFS, Keycloak or by shared authentication schemes using OAuth2.
Note: The Single Sign-on setting can also be enabled from the Security Settings screen (Refer Settings->User Management->Security Settings)
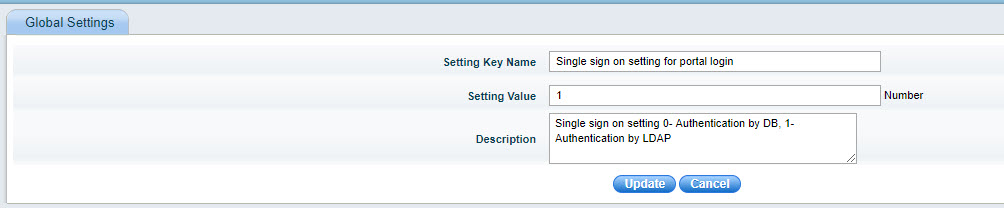
Enable the single sign-on setting clicking on 'Settings' and under 'Advanced System Settings', click on 'Global Settings'.
Search for the key 'Single sign on setting for portal login' and set the value as '1'.
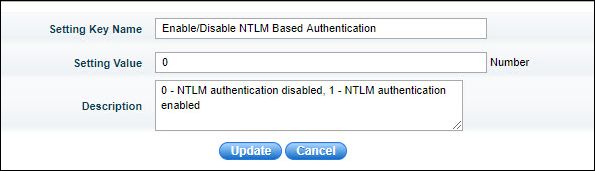
Next enable NTLM based authentication by searching for the key 'Enable/Disable NTLM based Authentication' and setting the value as '1'.
Configuration settings need to be changed in the browsers for single sign-on and the steps are given in the sections below,
 Note: For Chrome, the settings
are picked up from IE and thus the steps remain the same
Note: For Chrome, the settings
are picked up from IE and thus the steps remain the same
In the IE browser, click on "Tools" menu and select "Internet Options" and click on "Security" tab.
Select "Trusted Sites" zone to change the security settings.
Click on "Sites" button.
Enter the IP Address of the SapphireIMS server and click "Add". Click on "Close" and "Ok".
In the address bar, type "about:config" and press Enter.
The about:config "This might void your warranty!" warning page may appear. Click "I'll be careful, I promise!" to continue to the about:config page
In the about:config page, search for the preference "network.automatic-ntlm-auth.trusted-uris" and double-click on it.
In the prompt that comes up, type the IP Address of the SapphireIMS server.
Press "OK".
Notes: 1. When SSO is enabled in Windows Security policy, please provide login credentials and check the box "Remember my credentials" to avoid repeated entry of login credentials.
2. The default local security policy in Windows prevents LM and NTLM responses. So, in case you are unable to login to SapphireIMS, please follow the steps mentioned below :
i) Go to Local Security Policy > Security Settings > Local Policies > Security Options
ii) Select Network security: LAN Manager Authentication level
iii) Change security setting to Send LM & NTLM responses