![]()
![]()
SapphireIMS Service Desk provides a facility to schedule submission of a Service Request Task at specified intervals. This is useful for compliance to Standard Operating Procedures (SOP) where any task has to be performed at a specified time or repeatedly after specified intervals. Examples of SOP in the context of IT Service Management could be running a periodic vulnerability scan on the network or for preventive maintenance tasks. A scheduled task with this request could be created such that a new Service Desk Task is generated at regular intervals, for example every month. The task gets assigned to a Service Desk Engineer who responds to the task like any other service desk request. The task proceeds through the workflow similar to a service desk request logged by any user.
The schedule tasks needs to be created and saved the first time. Subsequently they can be scheduled anytime.
 Note: Only the SapphireIMS
Administrator or users with Service Engineer privileges can schedule a
task and this icon is not visible to others.
Note: Only the SapphireIMS
Administrator or users with Service Engineer privileges can schedule a
task and this icon is not visible to others.
This section describes the steps to create a scheduled task. Follow the steps below.
Click on the  icon. The scheduled task listing
with the saved tasks is displayed. Technicians can view all tasks
but are able to edit only the ones created by them.
icon. The scheduled task listing
with the saved tasks is displayed. Technicians can view all tasks
but are able to edit only the ones created by them.

Click on the 'Add' button. A new screen to create a scheduled task is displayed.
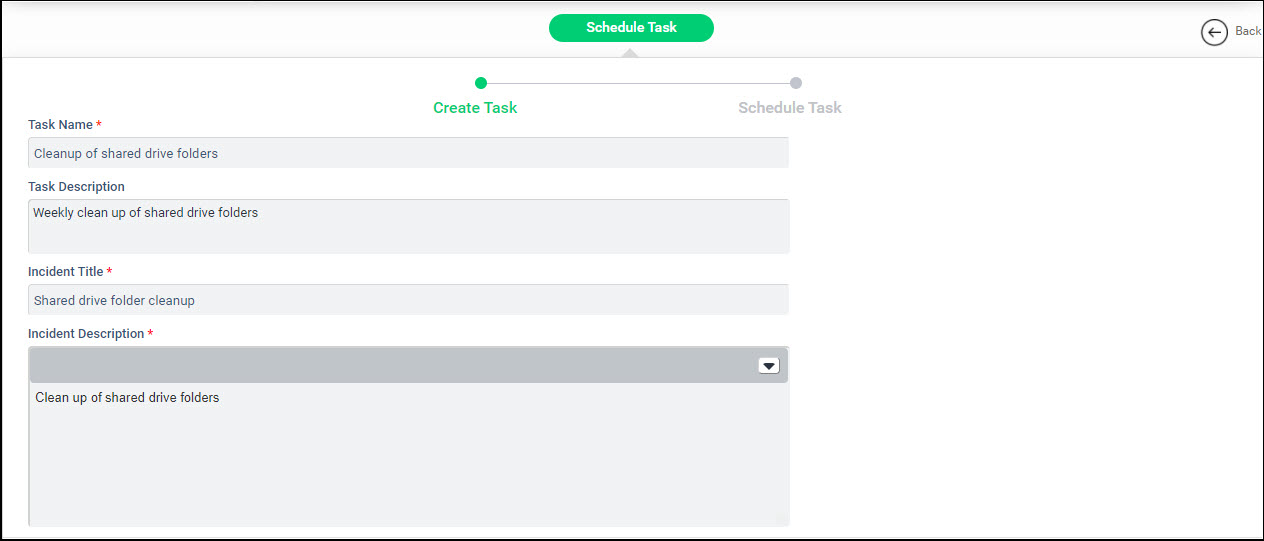
Enter the 'Task Name' which is used to uniquely identify the scheduled task. You can also enter a description in 'Task Description'. Next enter the details for the Service Desk Task which will be created. For information on the description of the fields refer to the section Service Desk->Submit a Service Desk Record.
If you want to schedule the task immediately, click on 'Next' and refer to the next section else click on 'Save to Tasks' which will save the task for subsequent scheduling.
You can schedule tasks after they are created. Based on the schedule, new tickets are generated with the field values populated from the values present in the scheduled task at the time of creation. Depending on the configuration of the project, this could include fixed and additional fields.
Click on to display the list of saved tasks.
On the Saved Tasks listing page, select the saved task you want to schedule and click on 'Schedule Task'. The scheduling screen is displayed.

The fields are described below.
|
Upon entering the inputs, click on 'Submit Task'. The task is scheduled.
To edit a scheduled task, click on 'Schedule Tasks' tab. The tasks are displayed.

Click on the task which you want to edit. The task details are displayed.
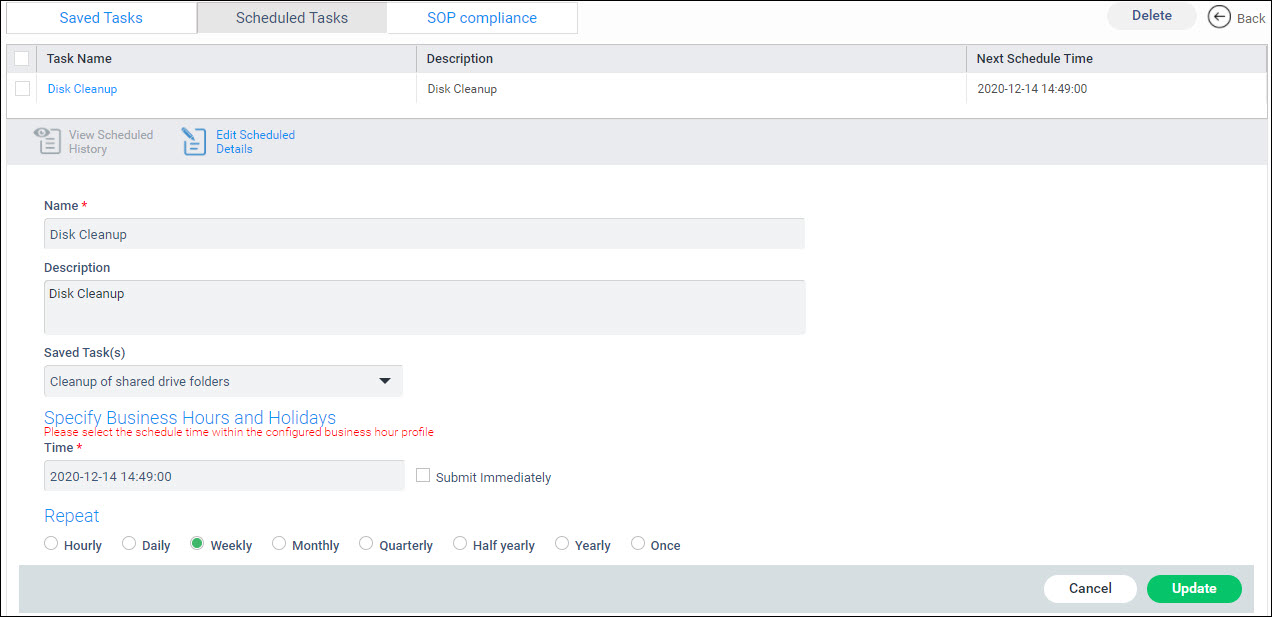
Click on 'Update'.
To view a scheduled task, click on 'Schedule Tasks' tab. The tasks are displayed.
Click on the task which is displayed. Click on 'View Schedule History'. A listing with the details of the scheduling history is displayed.
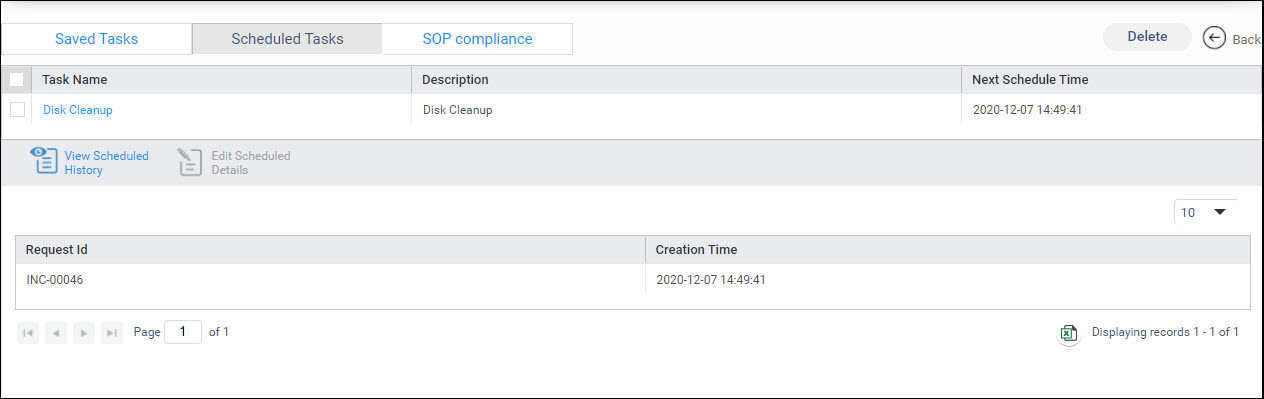
The task ID and the submission time are displayed. The number of entries displayed can be set in the drop down box and you can use the arrow buttons to scroll across pages.
If you want to export the scheduled task history click on the
Excel Export icon ![]() .
.
To delete a schedule task, select the task by marking the check box and click on 'Delete'.
A confirmation is displayed asking 'Do you really want to delete the selected scheduled task(s)?'. Click on 'Yes'. The selected tasks are deleted. Note that this will stop Service Desk tasks from getting submitted further but any tasks already submitted will remain.
Note: Tasks submitted using
the Schedule Task option will not be shown on the SOP dashboard.