![]()
![]()
Once the Service Desk roles are defined, the next step is to allocate users to the various roles for each of the projects. One user can be a part of multiple projects. The project administrator can allocate more than one role to a user. Follow the steps below to do so.
 Note: All users of Service
Desk must have been created in SapphireIMS. Refer to Settings->User
Management->User Management in SapphireIMS for details on adding
users.
Note: All users of Service
Desk must have been created in SapphireIMS. Refer to Settings->User
Management->User Management in SapphireIMS for details on adding
users.
Click on 'User/Role Management' option on the right hand side panel.
Click on 'Users'. The user list is displayed.
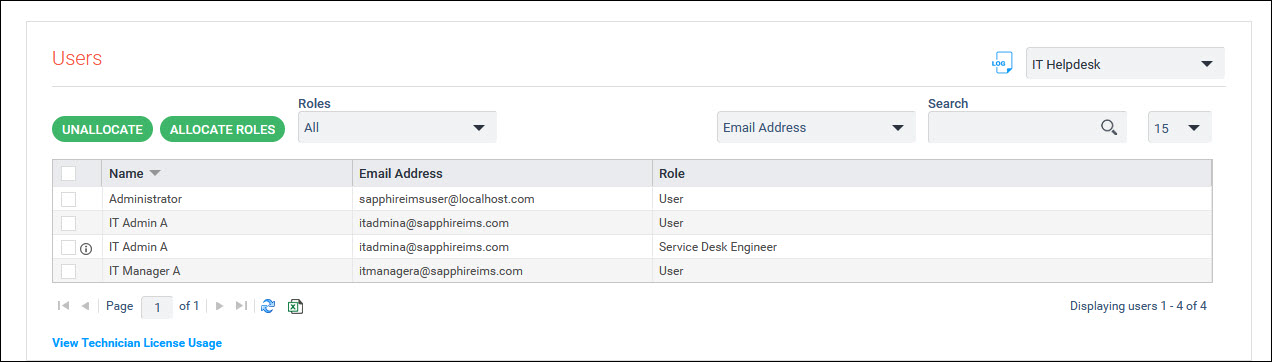
Users need to be allocated to roles for the attributes and permissions for that role to be enabled for the user. Users can be allocated to multiple roles in which case all the attributes and permissions across all roles apply.
You can filter on the roles using the 'Roles' drop down. Only users allocated those roles will be listed.
The user and roles can be exported to Excel by clicking on the
 icon.
icon.
You can also view technician license usage by clicking on 'View Technician License Usage'. The license usage is displayed.
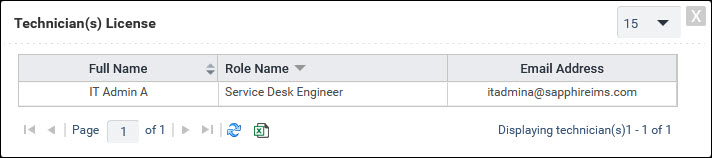
The Technician License information can be exported to Excel
by clicking on the icon.
To allocate roles, click on 'Allocate Roles' option. The role allocation screen is displayed.
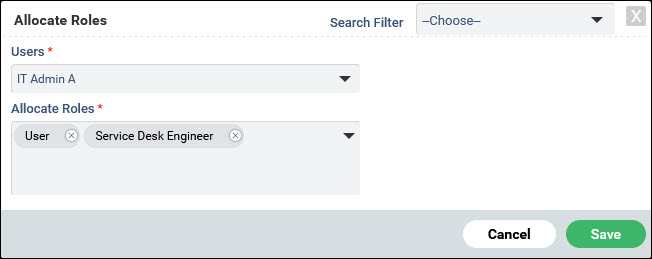
Select the 'Users' for whom the role allocation has to be done. To simplify selection, you can use search filters to filter on the list of users.
Select the roles in 'Allocate Roles' drop down.
Click on 'Save'.
To de-allocate users from roles, select the row which has the role to be de-allocated for the user.
Click on 'Unallocate'.