![]()
![]()
You can add a comment to the ticket at any time which allows any observations or plans to be shared across various stakeholders.
Click on 'Show Actions' against any record which opens the options panel.
Click on the 'View History' option.
To add a comment click on the icon  . The
comment windows is displayed.
. The
comment windows is displayed.

The comments can be marked as 'Public' which will allow it to be displayed to anyone or marked as 'Private' which will restrict it to be viewed only by the owner.
Enter the comments in the text box. You can click on the arrow to expand the editor menu which has various formatting options.
Click on 'Add' to insert the comment.
You can upload a file as an attachment to the ticket. This would enable all supporting information for the ticket to be stored.
There are multiple ways of adding an attachment.
Click on 'Show Actions' against any record which opens the options panel.
Click on the 'View History' option.
To upload an attachment click on the icon  .
The Attachment window is displayed.
.
The Attachment window is displayed.
Alternatively, you can also click on 'View Details' in the options panel which will open the record for viewing. Click on 'Edit Details'.
Click on the Attachments icon  . The
Attachment window is displayed.
. The
Attachment window is displayed.
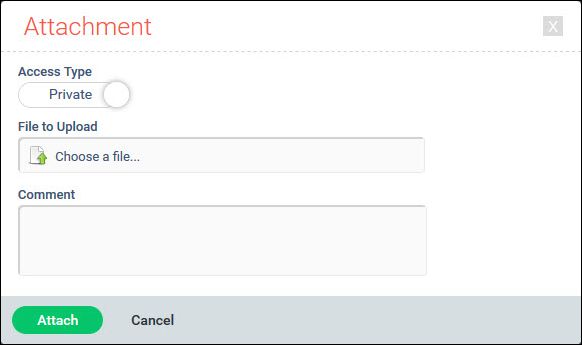
Select the 'Access Type' using the slider to mark as 'Private' or 'Public'. If 'Private' is selected then the attachment is visible only to the person who has uploaded. If 'Public' is selected then anyone who has access permissions for the ticket can view or download the attachment. See the notes at the bottom of this page
Select the file to be uploaded.
You can add a 'Comment' along with the uploaded file.
Click on 'Attach' to upload.
The file type will be validated and if successful the following screen is displayed.
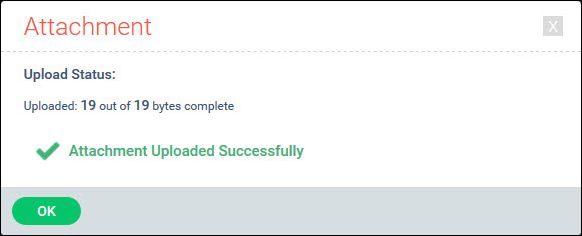
Click on 'OK'.
If the file type is invalid the following screen is displayed.
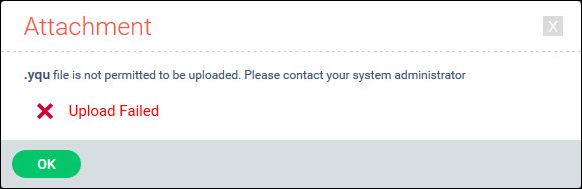
 Note: Only the following
file types are permitted to be uploaded .ANI,.BMP,.CAL,.FAX,.GIF,.IMG,.JBG,.JPE,.JPEG,.JPG,.MAC,.PBM,.PCD,.PCX,.PCT,
.PGM,.PNG,.PPM,.PSD,.RAS,.TGA,.TIFF,.WMF,.DOCX,.DOC,.TXT,.DOCM,.DOT,.DOTX,
.DOTM,.DOCB,.XLS,.XLT,.XLM,.XLSX,.XLSM,.XLTX,.XLTM,.XLSB,.XLA,.XLAM,.XLL,
.XLW,.PPT,.POT,.PPS,.PPTX,.PPTM,.POTX,.POTM,.PPAM,.PPSX,.PPSM,.SLDX,.SLDM,
.CSV,.ZIP,.JS,.PDF
Note: Only the following
file types are permitted to be uploaded .ANI,.BMP,.CAL,.FAX,.GIF,.IMG,.JBG,.JPE,.JPEG,.JPG,.MAC,.PBM,.PCD,.PCX,.PCT,
.PGM,.PNG,.PPM,.PSD,.RAS,.TGA,.TIFF,.WMF,.DOCX,.DOC,.TXT,.DOCM,.DOT,.DOTX,
.DOTM,.DOCB,.XLS,.XLT,.XLM,.XLSX,.XLSM,.XLTX,.XLTM,.XLSB,.XLA,.XLAM,.XLL,
.XLW,.PPT,.POT,.PPS,.PPTX,.PPTM,.POTX,.POTM,.PPAM,.PPSX,.PPSM,.SLDX,.SLDM,
.CSV,.ZIP,.JS,.PDF
Notes: 1. The slider control
for Private and Public is displayed only if the role has 'Enclosure Access
Control' setting is enabled for the project. Refer to Service
Desk->Settings->User Role Management->Roles for more details.
2. The project setting 'Default enclosure access in Service Desk'' controls the default value for the access type. If it is 1 then the default setting is 'Private' otherwise it is 'Public'. Refer to Service Desk>Settings->General Settings->Project Settings.
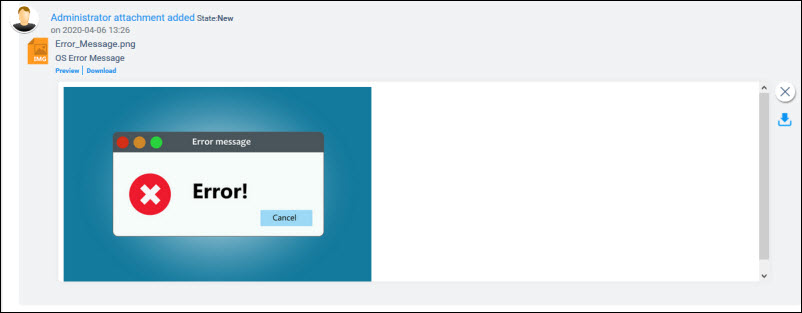
In the ticket history view, any entry with an attachment is shown with an icon
![]()
Click on the attachment icon and the attachment details are displayed.
You can also click on the Attachment icon  against the record in the List View or in the Grid View. The Attachments
block is displayed.
against the record in the List View or in the Grid View. The Attachments
block is displayed.
If the enclosure access control is enabled for the role in the
project and the attachments are marked as 'Public' or 'Private', they
are indicated using the icons  and
and  against them.

Click on  icon to group the attachments by
the state in which they were attached. If there are a large number
of attachments, this makes it easier to locate a particular one.
icon to group the attachments by
the state in which they were attached. If there are a large number
of attachments, this makes it easier to locate a particular one.
The comment is displayed along with a button to 'Preview' or 'Download' the file.
Click on 'Preview' to view the attachment in the browser (supported for most audio, video, image and text file formats).
Click on the 'Download'
option or the download button  if you want to save the file.
You can download the attachments as a compressed file. You can mark the checkbox against the attachment or click on 'Select All' button to mark all the attachments. Click on 'Compressed Download' and a Zip file is created and downloaded.
To remove an attachment, click on the  icon
against the attachment.
icon
against the attachment.