![]()
![]()
The SMTP server needs to be configured to send out the Service Desk E-mail notifications as well as e-mails from the context of the record. This configuration is project based which means that each project can have different SMTP server configuration for e-mail notifications related to service desk records.
Limits can be set on the number of recipients and number of mails in a day. Refer section Setting Global Limits for Mails.
Click on 'Email & SMS Notifications' option on the right hand side panel.
Click on 'SMTP Settings'. The SMTP settings configuration screen is displayed. Select the 'Mail Service' as 'SMTP'.
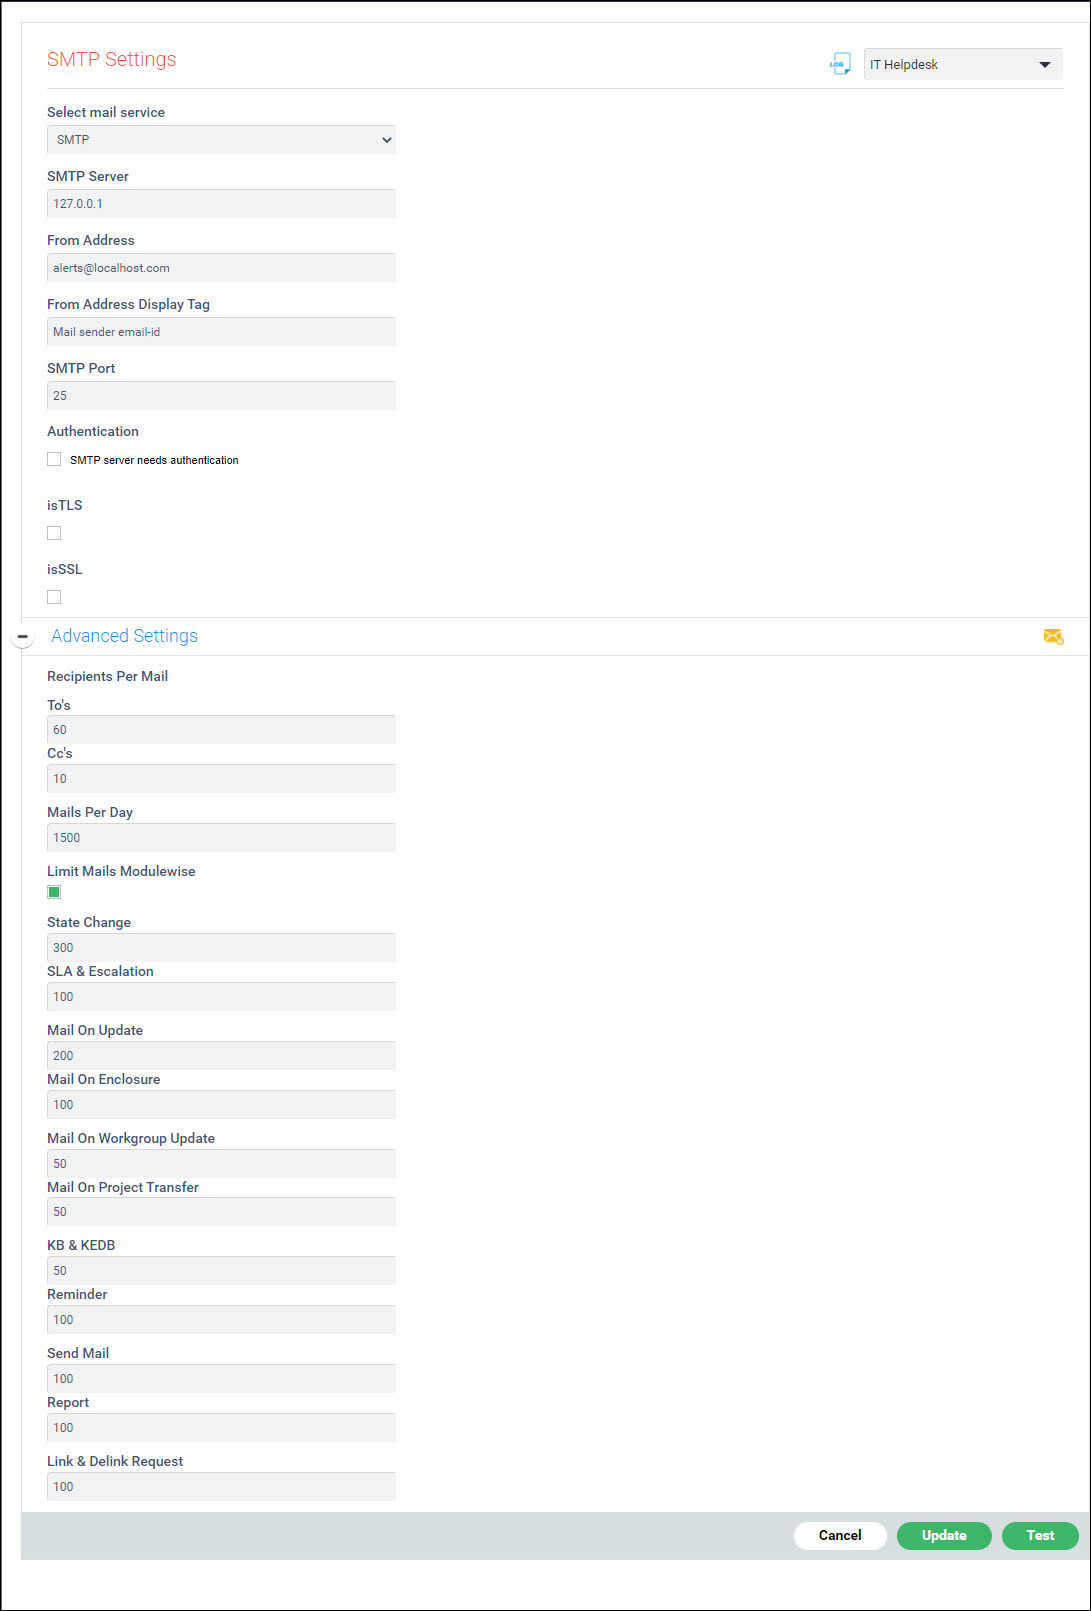
The fields are described below if you select the mail service as SMTP. If you select Exchange, refer section Exchange Mail Service. For modern authentication with Exchange refer Settings for Exchange using OAuth2 Authentication. For modern authentication with GSuite/Gmail refer Settings for GSuite/GMail using OAuth2 Authentication.
|
Click the 'Test' button to verify the SMTP settings. This will initiate an e-mail transaction and send a test mail (to the same ID as a self test); if this is successful then the SMTP settings are correct. If this throws an error, then verify your SMTP settings.
Click on 'Update' to save the configuration.
Click on 'Email & SMS Notifications' option on the right hand side panel.
Click on 'SMTP Settings'. The SMTP settings configuration screen is displayed. Select the 'Mail Service' as 'Exchange'.
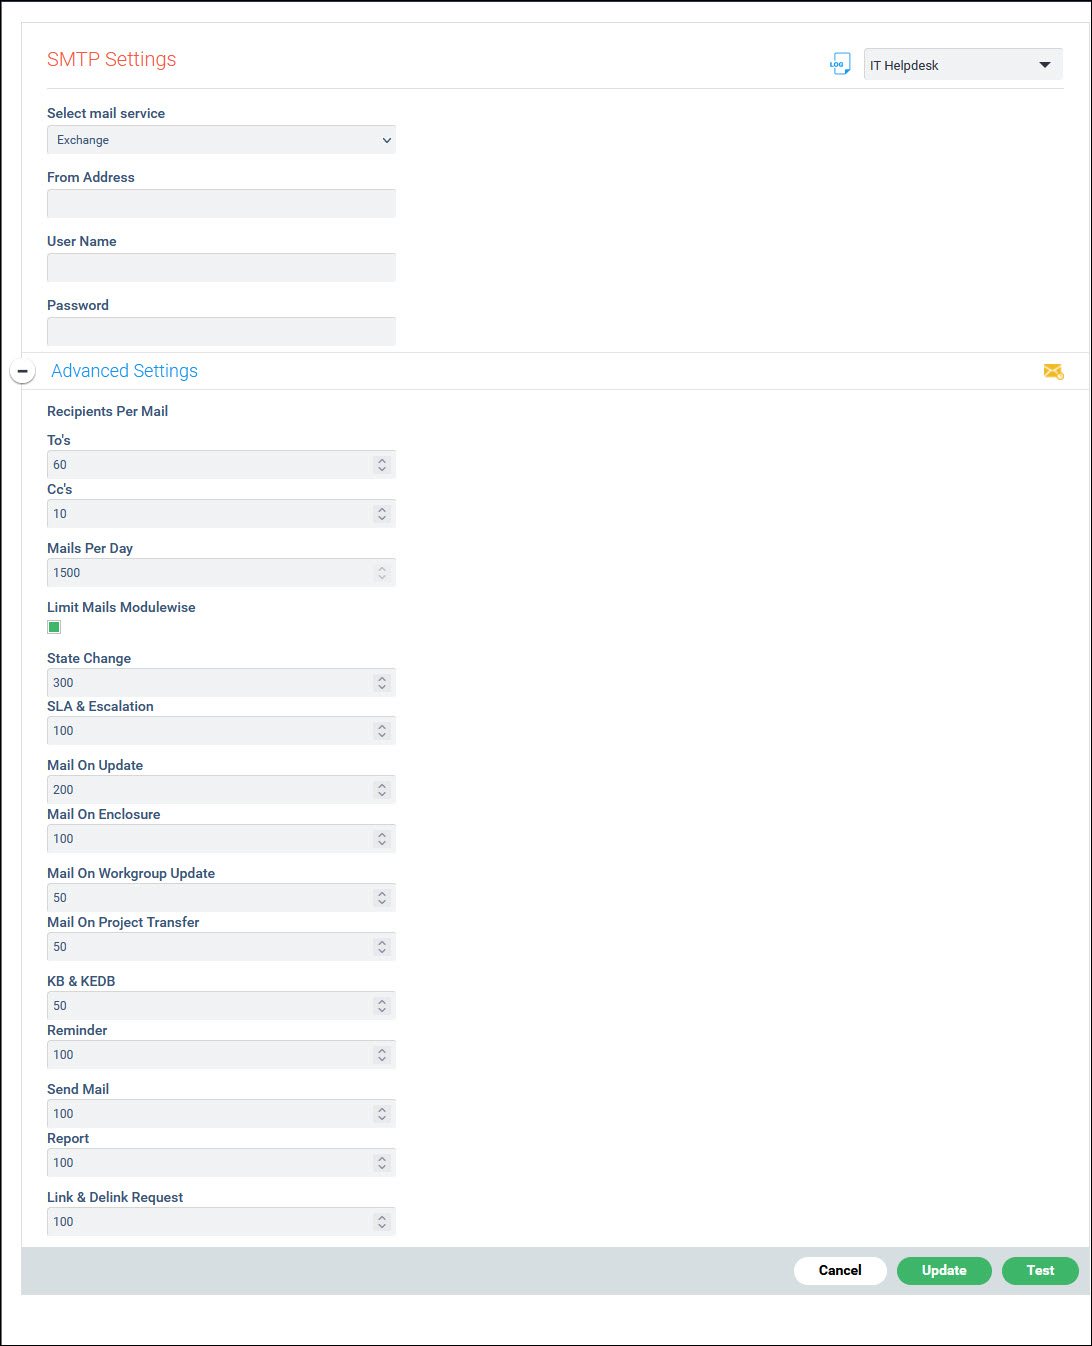
The fields are described below.
|
Click the 'Test' button to verify the Exchange settings. This will initiate an e-mail transaction and send a test mail (to the same ID as a self test); if this is successful then the Exchange settings are correct. If this throws an error, then verify your Exchange settings.
Click on 'Update' to save the configuration.
Click on 'Email & SMS Notifications' option on the right hand side panel.
Click on 'SMTP Settings'. The SMTP settings configuration screen is displayed. Select the 'Mail Service' as 'OAuth2 Authentication Exchange'.
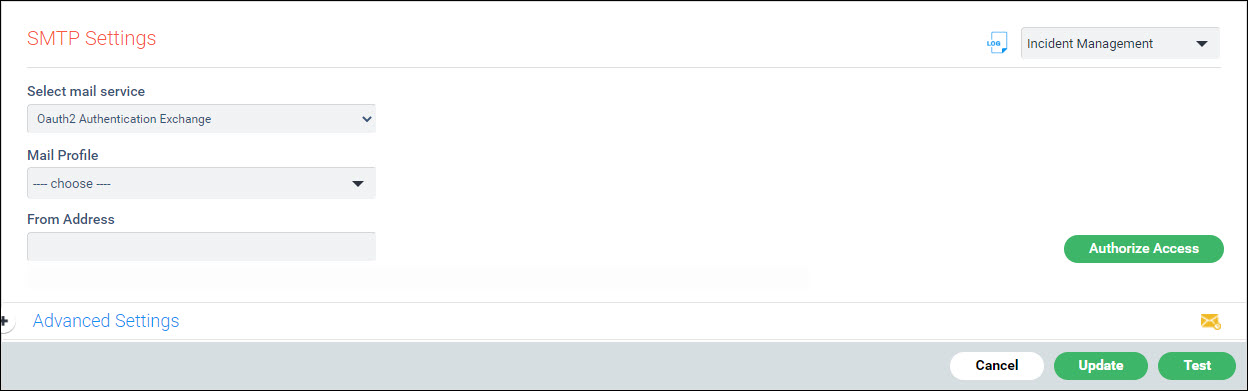
The fields are described below.
|
Click the 'Test' button to verify the SMTP settings. This will initiate an e-mail transaction and send a test mail (to the same ID as a self test); if this is successful then the SMTP settings are correct. If this throws an error, then verify your SMTP settings.
Click on 'Update'.
Click on 'Email & SMS Notifications' option on the right hand side panel.
Click on 'SMTP Settings'. The SMTP settings configuration screen is displayed. Select the 'Mail Service' as SMTP OAuth2 GSuite/Gmail'.
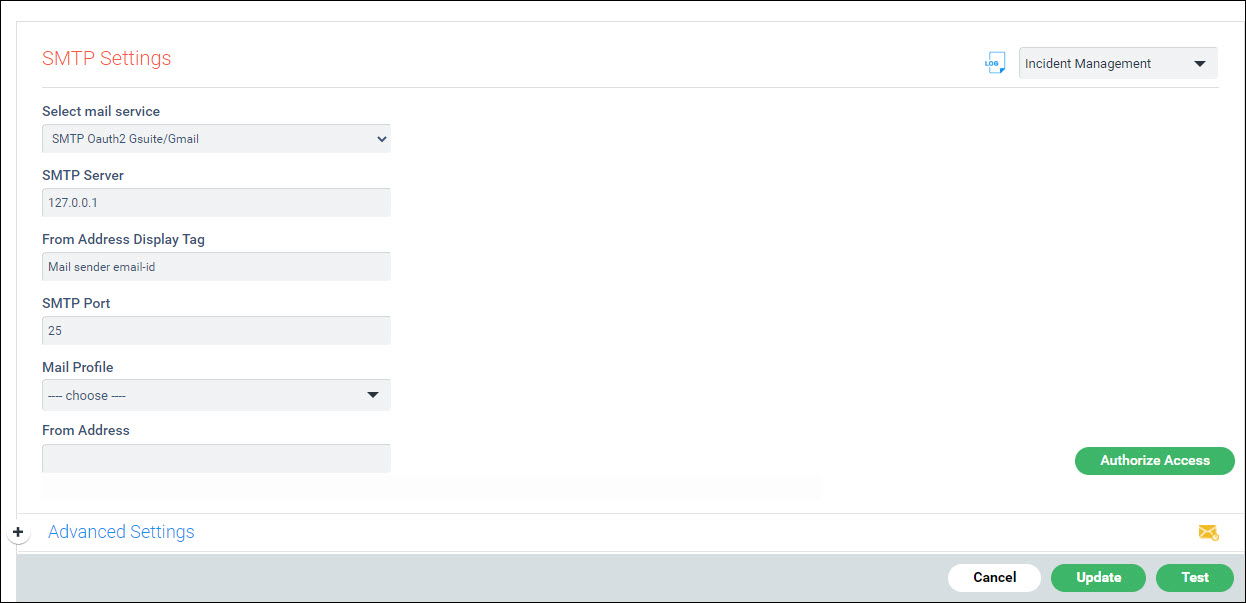
The fields are described below.
|
Click the 'Test' button to verify the SMTP settings. This will initiate an e-mail transaction and send a test mail (to the same ID as a self test); if this is successful then the SMTP settings are correct. If this throws an error, then verify your SMTP settings.
Click on 'Update'.
When the limits exceed, sending of mails is paused and the list
of backlog mails is displayed to take action. Click on ![]() to view this screen.
to view this screen.
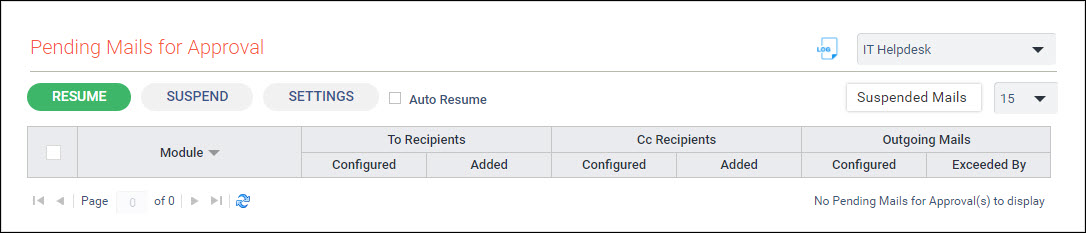
If you want to send any mails, select the mails and click on 'Resume'.
To discard mails, select the mails and click on 'Suspend'. Mails which are suspended will be displayed under 'Suspended Mails'. Refer to Suspended Mails.
Click on 'Settings' button to return to the 'SMTP Settings' screen.
Check the 'Auto Resume' box to automatically cause the mails sending to be resumed once the count of pending mails falls below the threshold or the limits are increased. Note that the Auto Resume box should be first checked before increasing the limits.
Click on 'Suspended Mails' button to view the suspended mails.

 Note: Mails in this list
remain forever and are not purged.
Note: Mails in this list
remain forever and are not purged.
The following Global Settings set the overall limits globally across all modules. This can be set in the Global Settings. Refer to Settings->Advanced System Settings->Global Settings for details.
'MAIL_LIMIT_PER_DAY_SMTP' - set the limit for overall mails outgoing per day for SMTP server.
'RECIPIENTS_LIMIT_PER_MAIL_SMTP' - set the limit for recipients per mail for SMTP server.