![]()
![]()
This topic describes the Linux Patch Scanning and Deployment. Similar to Windows, Linux Patch Management involves doing periodic scans for missing patches, following an approval process to deploy patches and finally creating jobs for deployment of patches.
 Note: For Linux systems,
application patch management is included as part of OS patch management
as the process remains the same.
Note: For Linux systems,
application patch management is included as part of OS patch management
as the process remains the same.
On the SapphireIMS menu, point to ‘IT
Automation' and click ‘Patch
Management’. Select the  'Linux Patches' option.
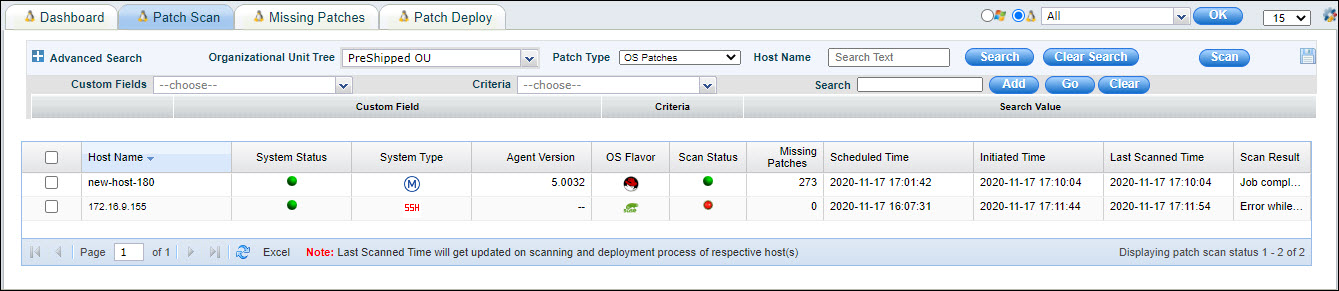
Click 'Linux Patch Scan' tab to view the results of patch scan. Number of patch scans to be viewed can be selected from the drop down at the top right hand corner of the grid.
Select the 'Patch Type' as 'OS Patches' for managing Linux OS or Application Patches or Mac OS Patches. Select 'Third Party Patches' for managing Third Party Application Patches for Mac. Refer to the topic IT Automation->Patch Management->Third Party Patch Management->Mac Third Party Patch Management for more details on Third Party Patch Management for Mac.
Click on the  icon to
customize the fields to be displayed.
icon to
customize the fields to be displayed.
You can filter the listing based on the 'Organizational Unit Tree' or any of the other criteria for the 'Custom Fields'. Select a custom field and select the 'Criteria' to filter and enter the value in the Search box.
Refer to Advanced Search to create profiles for filtering and viewing the scan list.
Refer to the topic Settings->Software Management->Patch Management Wizard->Linux Patch Scanning and Deployment for scheduling scans. Select systems and click on 'Scan' for carrying out on-demand scanning. A prompt for confirmation appears and on confirmation the scan jobs are posted.
'Scan Result' column shows the status of the last scan performed on the target node. Patch scan status is any one of the following:
|
Click 'Missing Patches' column for the target system to view the details of missing patches.
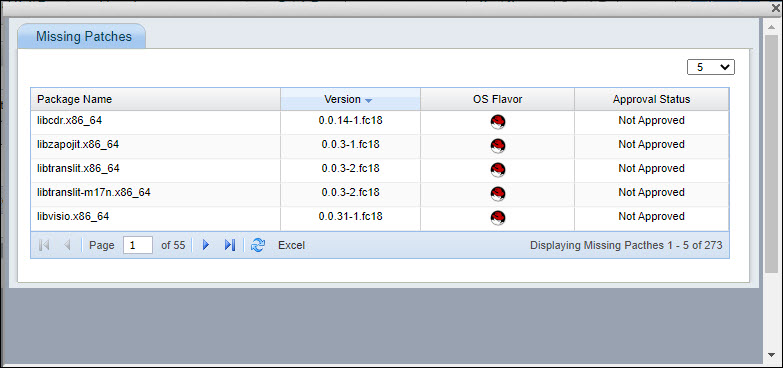
Next, go to the 'Missing Patches' tab to approve patches to install which is described in the next topic.
The Advance Search option allows setting up of search profiles and saving them for subsequent use.
Click on the '+' next to Advance Search. The Advance Search Panel is displayed.

Select one or more 'Categories' of nodes like Laptop, Desktops etc.
Select one or more 'Domains'.
Select one or more 'OS'.
Additionally filters if applicable and present can be applied on 'Scheduled Time' for when patch scan was initiated or when last scan was done. A 'Time Scale' can specified. In additions the list can be filtered by the patch scan 'Error Description' returned in the last scan.
Based on the selection the list is filtered to display the nodes which match the criteria.
The configured profile can be saved for future use.
Click on the  icon. The profile addition screen pops-up.
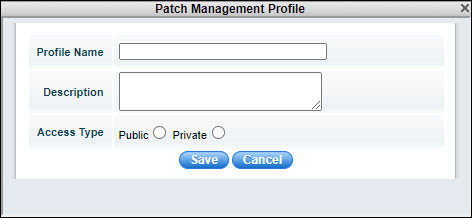
Enter a 'Profile Name' and 'Description'.
Select the 'Access Type' as 'Public' if the profile is made visible to others or as 'Private'.
Click on 'Save'.
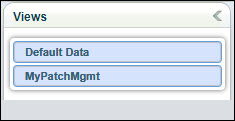
The saved profile appears on the left hand menu.
To edit the profile, click on  .
.
To delete the profile, click on  .
.
Notes: 1. Retry Count and Retry Interval will assume default values of one and one hour respectively, when 'On-Demand' patch scan is selected.
2. In case of MSP edition, a drop down box for 'Site' selection is visible.