![]()
![]()
Incidents are raised by users by creating a record in the incident management project. Creation of incident records can be done using a blank template. Alternatively Quick Templates can be used to speed up the record creation process, since some of the information is pre-defined and pre-filled for standard or common incidents in an IT environment. Refer to the topic Service Desk->Service Desk Common Features->Using Quick Templates for details on using Quick Templates.
Once the incident record is submitted it appears with the state as 'New'. The record is then assigned to a Service Desk engineer. There is an in-built workflow through which the record state transitions happen till the incident is resolved.
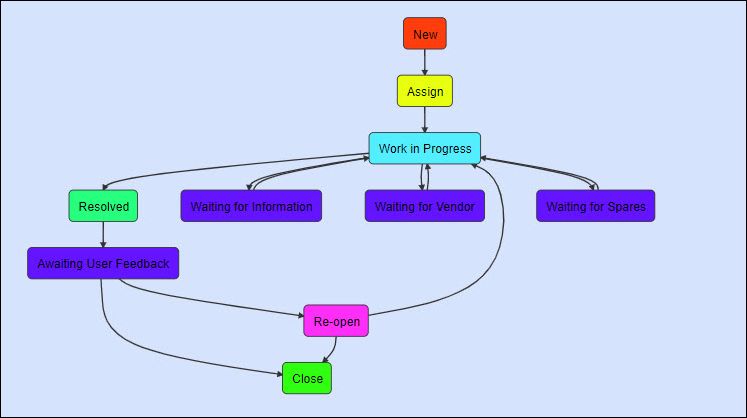
States |
Description |
New |
A user reports an incident or an incident is generated by the system based on a fault event.
|
Assign |
Service Desk Supervisor assigns the incident to a service desk engineer
|
Work in Progress |
Service desk engineer moves the incident to Work in progress to indicate that the incident is being worked upon.
|
Waiting for Information |
If any additional information is required for investigating the incident, the submitter is contacted and the incident moved to Waiting for Information state. During this state, the SLA clock stops and restarts once the information is received and the state moved back to Work in Progress.
|
Waiting for Vendor |
If the incident requires a vendor intervention, the incident is moved to Waiting for Vendor state. Once the vendor completes the work, it is moved back to Work in progress, |
Waiting for Spares |
If the incident requires a spare or other equipment for resolution, the incident is moved to Waiting for Spares state. Once the spare is received, it is moved back to Work in progress. |
Resolved |
The service desk engineer will resolve the incident by updating the resolution notes. This state also marks the end of SLA measurement. |
Awaiting User Feedback |
The service desk engineer moves the record to Awaiting User Feedback state during which the user can check if the resolution is satisfactory and either move the state to Close or Re-open if the resolution is not satisfactory. |
Reopen |
The incident can be reopened by the submitter after it is moved to Awaiting User Feedback and once again assigned to a service desk engineer if required
|
Close |
The user or submitter moves the state to close. |
Click on the 'Submit as' option and select 'Assign'. An entry screen is displayed to select the service desk engineer or the Workgroup (this appears if there are workgroups defined) to whom the record has to be assigned. To make the selection easier, filters are provided on department, location, role and specializations.
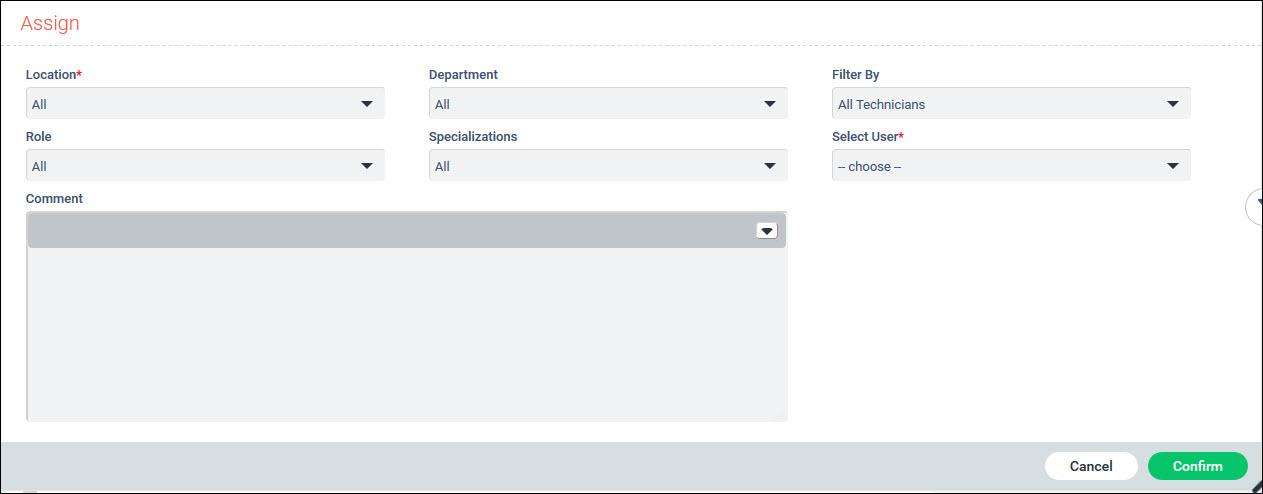
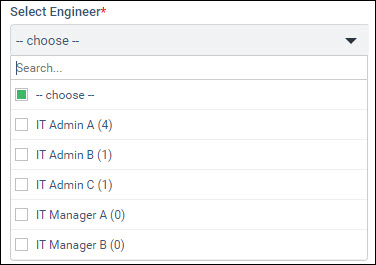
You can use the filters in the table below to select the engineer to whom the record has to be assigned.
|
You can also enter any comment and click on 'Confirm' to complete the assignment.
The service desk engineer will be able to view under the tab 'My Queue'.
To assign the record to a workgroup, click on 'Show Actions', 'View Details' and 'Edit Details'.
Select the 'Workgroup' field.
Click on 'Update' to update the record.
Subsequently the record appears under the "My Workgroup" tab of all the users belonging to that group. Any user can then proceed to 'Assign' the record or carry out any further updates on the record.
 Note: To enable the workload
to be displayed, enable the setting 'Consider state categories to calculate
technician load' for the project. You can enable this by specifying the
IDs of the state categories which should be considered for calculating
the loads. Refer to
Service Desk->General Settings->Project Settings to update
the settings.
Note: To enable the workload
to be displayed, enable the setting 'Consider state categories to calculate
technician load' for the project. You can enable this by specifying the
IDs of the state categories which should be considered for calculating
the loads. Refer to
Service Desk->General Settings->Project Settings to update
the settings.
For all other state transitions, you can click on 'Submit as' option and select the appropriate state to move the record. An entry screen is displayed to input any comment.
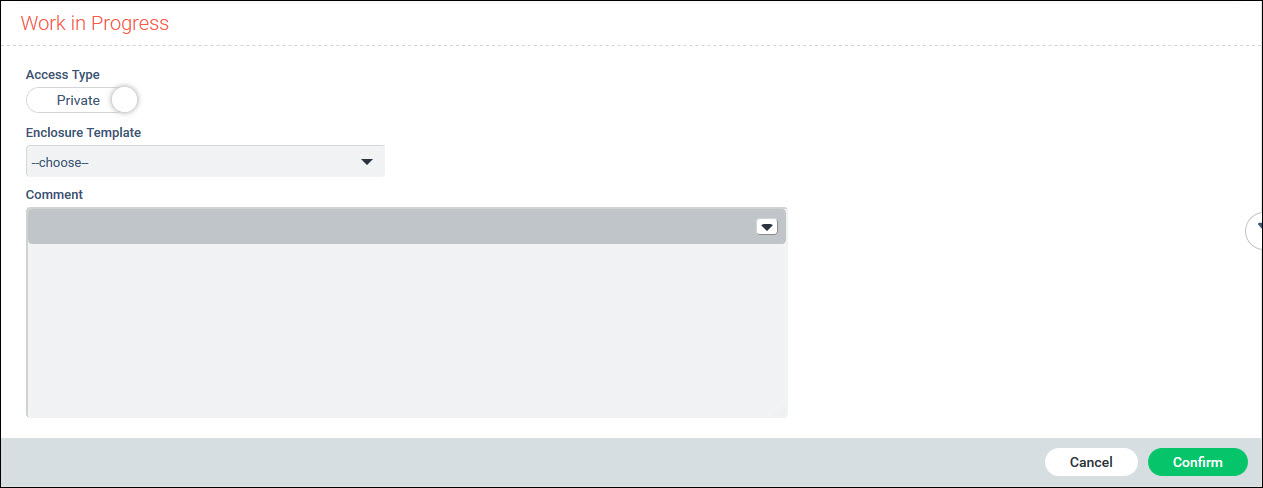
If the role has 'Enclosure Access Control' enabled for the project, then a slider can be set to select if Access Type is 'Private' or 'Public'. Enclosures set as 'Private' is visible only to the Technician.
Select an Enclosure template. Enclosure templates are pre-filled with configured text. Refer Service Desk->Settings->General Settings->Enclosure Templates for configuring the enclosure templates.
Enter the comments and click on 'Confirm' to update the state.
When an Incident is resolved, the submitter of the incident is expected to close the request once satisfied that the resolution has met expectations. The submitter can also be requested to rate the quality of service provided.
Click on the 'Submit as' option and select 'Close'. A User Feedback screen to enter the rating is displayed. Refer to the topic Service Desk->Settings->CSAT & Questionnaire->User Feedback for details on configuring the CSAT questions.
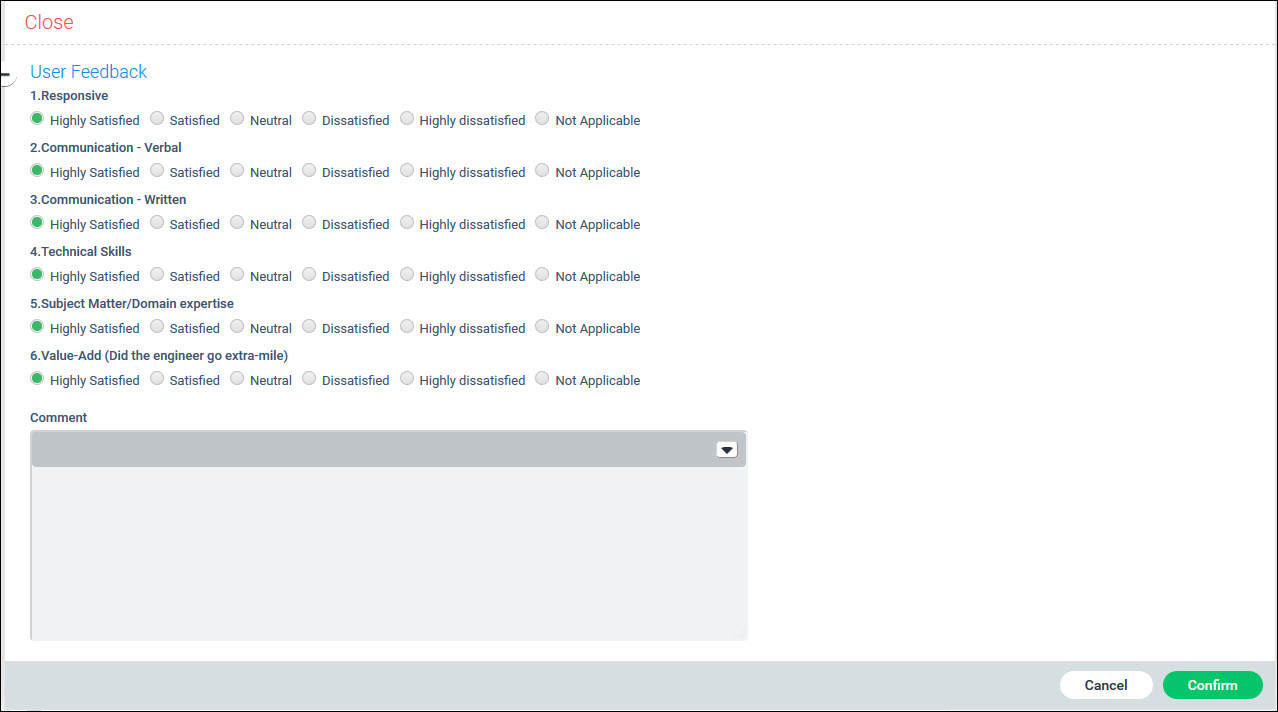
Enter the ratings for the different areas and click on 'Confirm'.
Based on the individual ratings, an overall rating is displayed against the record.

If the User Feedback is configured for sending a link to the user in an e-mail on closure of the incident, then when the state of the incident is changed to Close, an e-mail is sent such as the following.
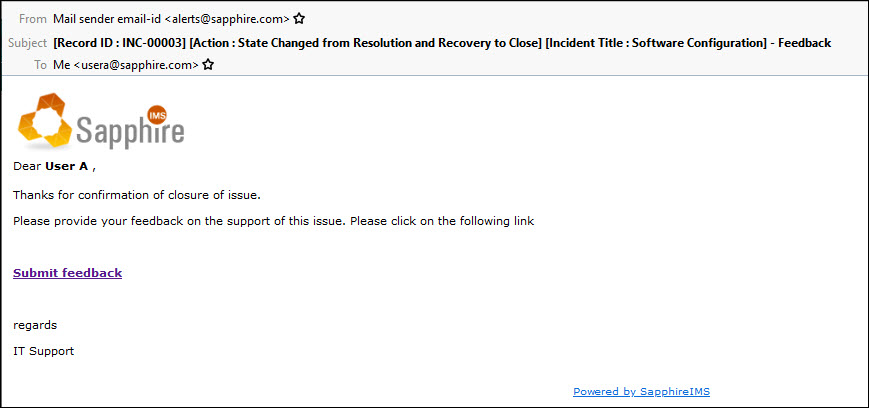
The user can click on the link which will redirect to the User Feedback form. This may require the user to login into SapphireIMS. The user can fill in the form and submit.
SapphireIMS also allows a user feedback template with only one question and responses in the form of Smileys or Stars such as below.
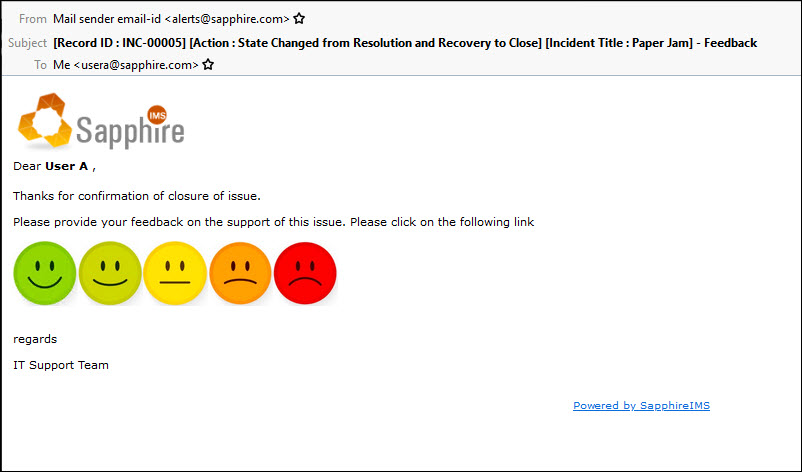
Click on any of the options. The login screen is displayed. After logging in, the response is recorded and an acknowledgement is displayed.