![]()
![]()
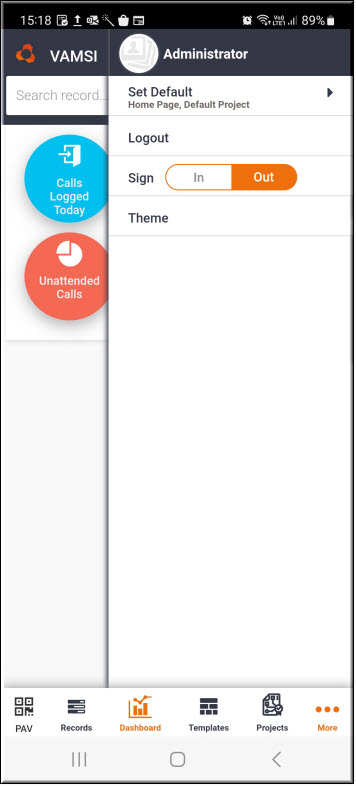
This topic describe the usage of the Service Desk functionality in the mobile application.
You can change the settings in terms of the Home Page, the default project etc. By default the Home Page is set to the Service Desk Dashboard. It can be changed to Physical Asset Verification (PAV). These settings can also be changed in role management (Managing Roles)
To change the settings, tap on  at the right
hand bottom of the screen. A panel for settings is displayed.
at the right
hand bottom of the screen. A panel for settings is displayed.
Tap on 'Set Default'. The Home Page choices are displayed.
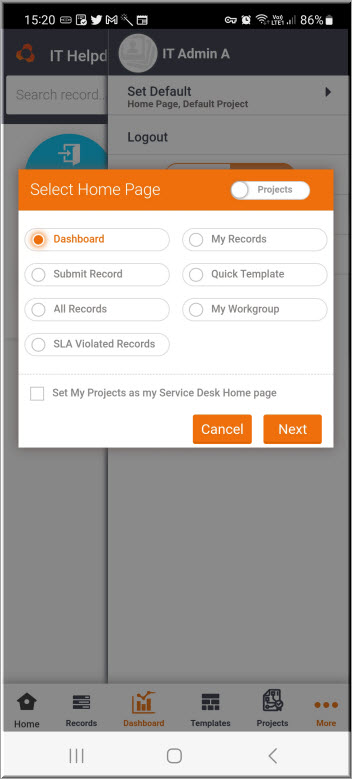
Select among the options which include the following:
My Dashboards: Displays the dashboard view
My Records: Displays listing of user's records
Submit Record: Displays the record submission page
Quick Template: Displays the Quick templates
All Records: Displays all records
My Workgroup: Displays records of the user's workgroup
SLA Violated Records: Displays SLA violated records
Select 'Set My Projects as my Service Desk Home page' if the project icons should be displayed as the Home page/
Once the options are selected tap on 'Next'.
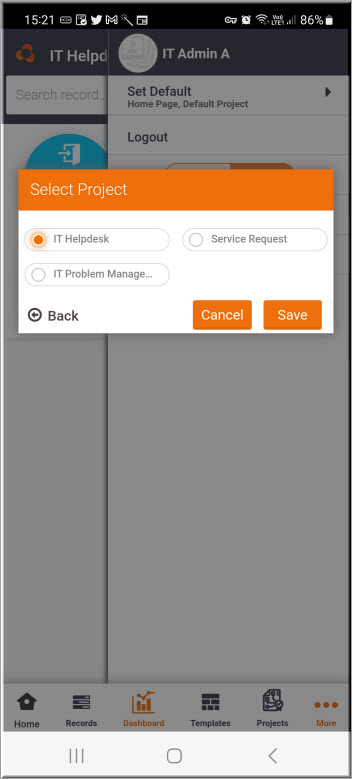
Select the project which should appear on the Home page.
Tap on 'Save'.
Tap on the Sign 'In' or 'Out' button on the right hand panel to sign-in and sign-out. A confirmation is displayed with date and time.
Tap on PAV to access the PAV functionality. For details, refer to SapphireIMS Mobile App->Physical Asset Verification (PAV).
You can select a theme for the mobile. On the right hand panel, tap on 'Theme'.
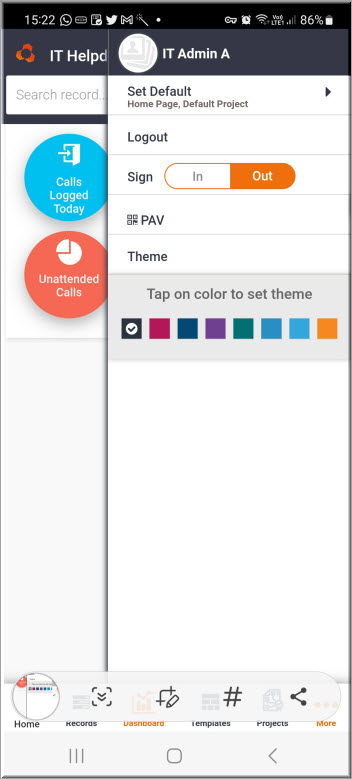
Select a theme color.
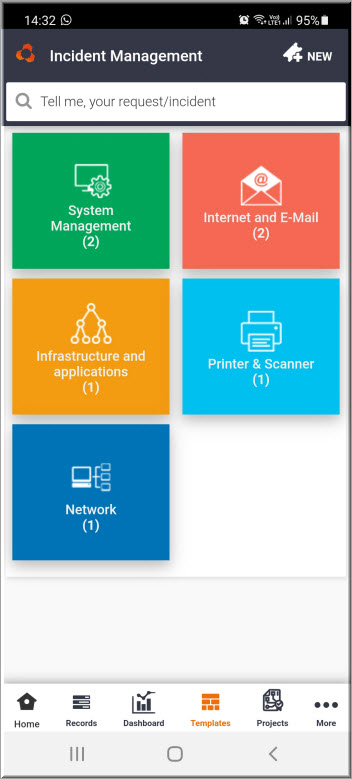
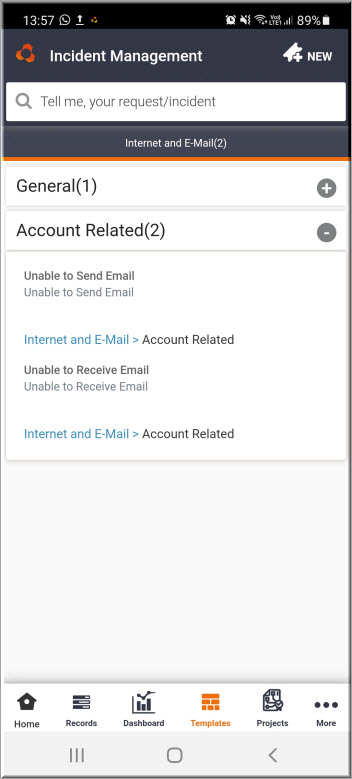
From the Dashboard, you can drill down to get the details by
tapping on any of the categories. Alternatively you can Tap on  icon in the panel at the bottom for a listing view of
records.
icon in the panel at the bottom for a listing view of
records.
You can search for a record using the ID or title.
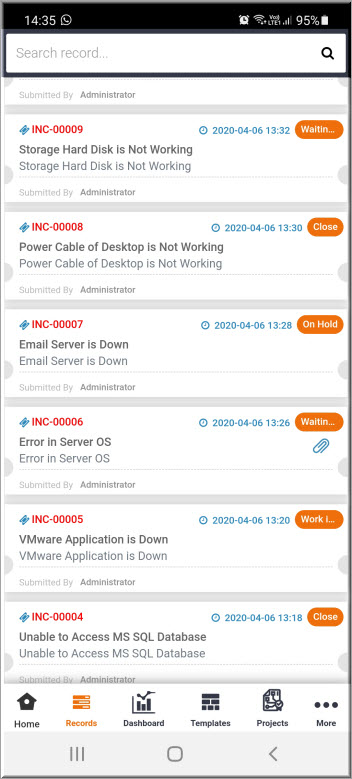
The record ID is displayed in RED if the record has violated the SLA.
You can view an attachment directly by tapping on  .
.
Tap on the record ID to view the record details.
You can change the state of the record without opening it, directly from the listing screen itself.
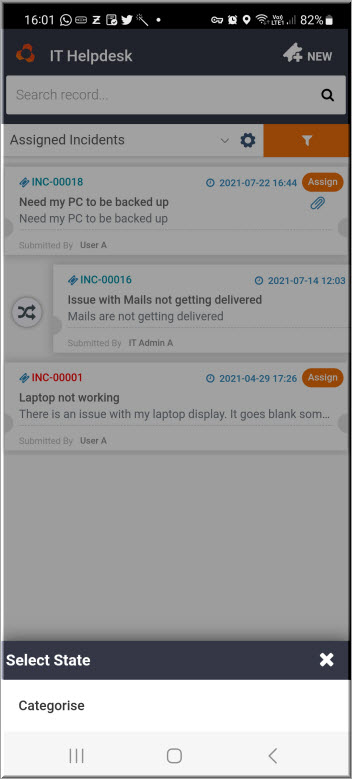
Swipe the record to the right and the change state icon is displayed. At the bottom of the screen the possible states are displayed. Select the state to which you want to change.
You can select or change a project if you have access to multiple projects.
Click on the Projects icon  to
display the project selection screen.
to
display the project selection screen.
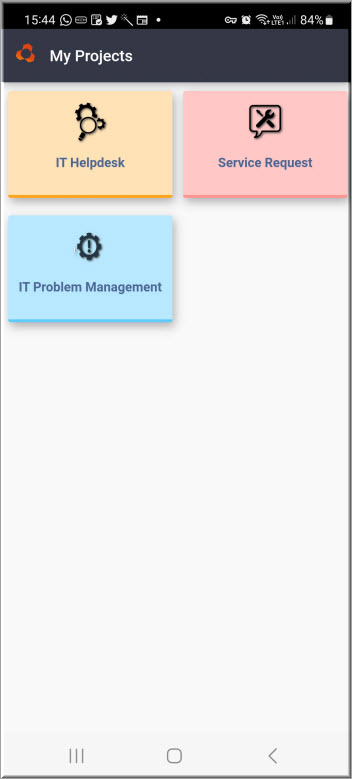
Select the project from among the ones displayed. This will be set as the project for further operations.
You can submit new records either by entering the details or using Quick Templates.
To enter the details, select the project under which you want to submit a new record.
Tap on the  icon on the top panel. The Service Desk Record Submission screen is
displayed.
icon on the top panel. The Service Desk Record Submission screen is
displayed.
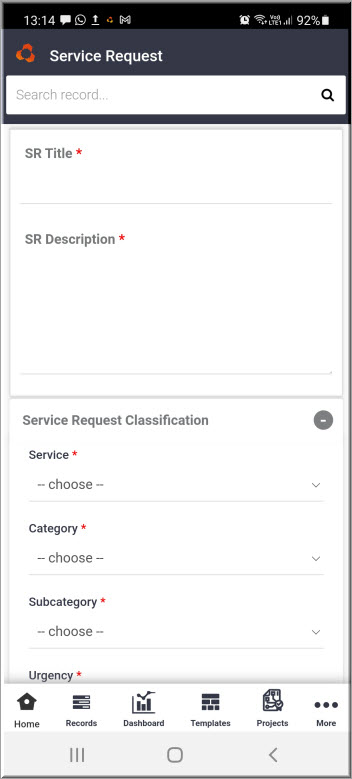
Enter the fields. For the explanation of the Service Desk fields refer to Service Desk->Basic Operations->Submit a Service Desk Record. Once the data is entered, scroll up for the remaining fields.
You can either select an impacted asset from the drop down list
or scan the asset number from the barcode or QR code by tapping on
 .
.
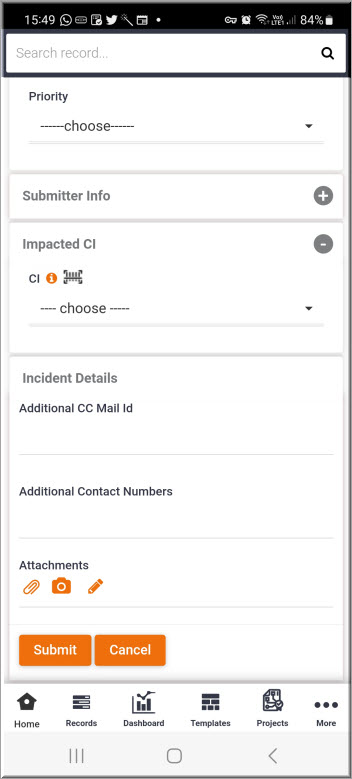
You can attach files by tapping on  .
.
You can also attach an image from the camera or capture a signature.
For capturing an image form the camera, Tap on  . Take the picture and
it will get attached to the record.
. Take the picture and
it will get attached to the record.
For capturing a signature, Tap on  .
A screen to input the signature appears.
.
A screen to input the signature appears.
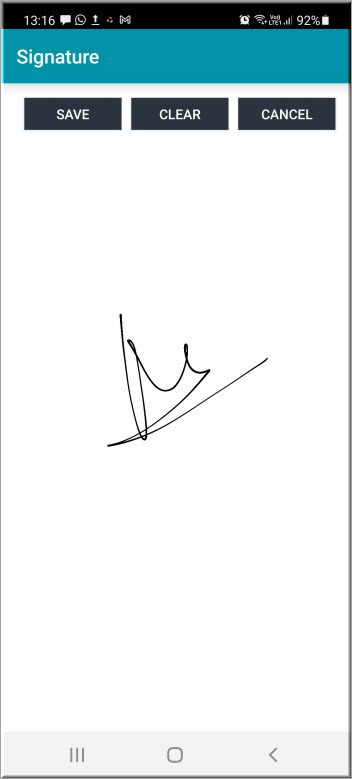
Tap on 'Save' to save the signature and attach to the record.
After entering all the fields, Tap on 'Submit'.
Similar to the Web application, you can use the Quick Templates for speedier submission of records on the mobile. Refer to Service Desk->Service Desk Common Features->Using Quick Templates for more information.
Tap on  icon
on the bottom panel. The Quick Templates are displayed for the selected
project.
icon
on the bottom panel. The Quick Templates are displayed for the selected
project.
You can type out the text related to the issue and a list of matching templates across projects is displayed.
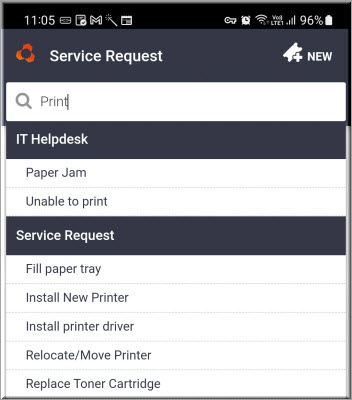
Tap on the template.
Alternatively, if the search does not yield any result, Tap on any of the categories. The templates under the categories are listed.
Tap on a template and the record submission screen is displayed with most of the information pre-filled.
Submit the record.
For viewing records in an project, select the project as explained earlier.
On the right on the left menu, Tap on  icon. The panel opens to show the various filters as below.
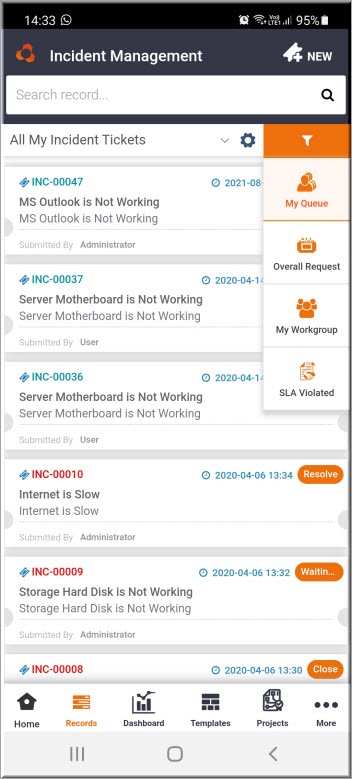
As an example if 'My Workgroup' is selected, then the records for the user's Workgroup is displayed.
You can further filter on records by state by using the drop down at the top of the listing.
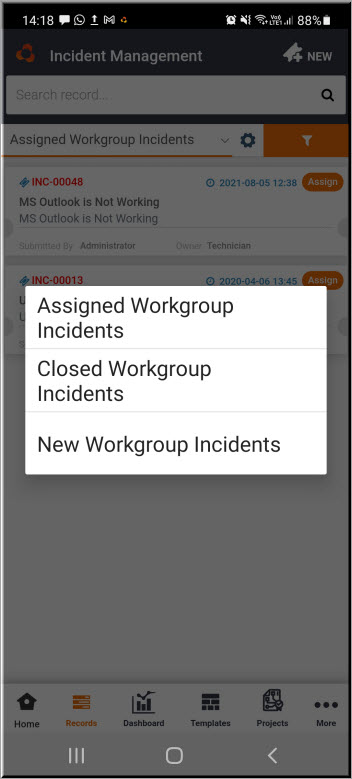
Select a state to filter the records listing.
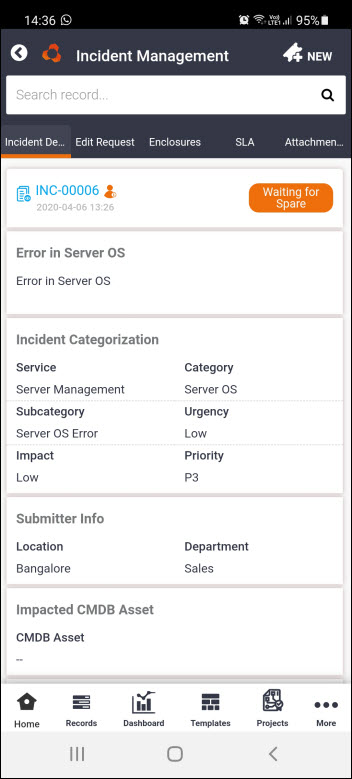
Tap on the Record ID in the listing to open a record and the details are displayed. You can edit and update the record.
Tap on 'Edit' option on the top menu.
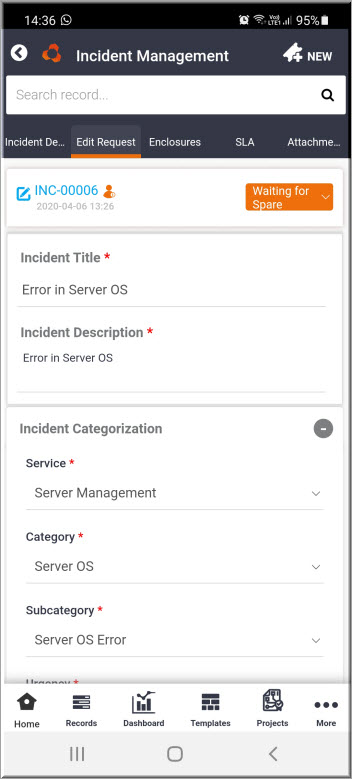
Edit any of the fields.
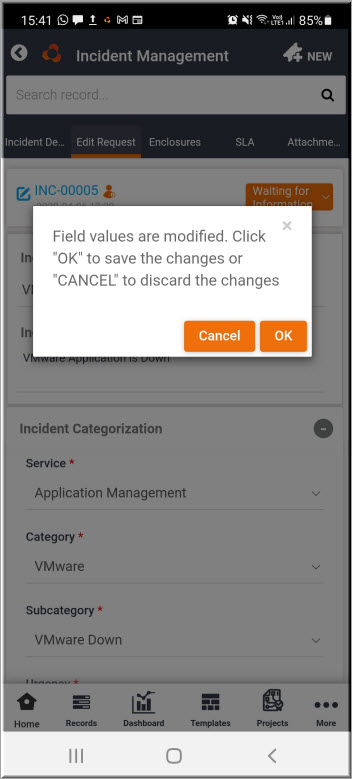
 Note: If you attempt to change
the Service, then a warning is displayed that some of the fields may be
lost. If you proceed, then the state of the records is set to the initial
state. Also a pop-up is displayed to capture the reason for the change.
Note: If you attempt to change
the Service, then a warning is displayed that some of the fields may be
lost. If you proceed, then the state of the records is set to the initial
state. Also a pop-up is displayed to capture the reason for the change.
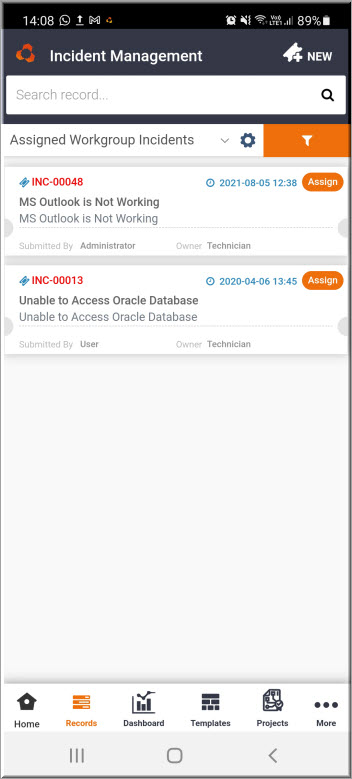
You can get the submitter or owner details and call or send
an SMS to the submitter or owner . Tap on  next
to the record ID for submitter information and against the icon near
the owner for owner information.
next
to the record ID for submitter information and against the icon near
the owner for owner information.
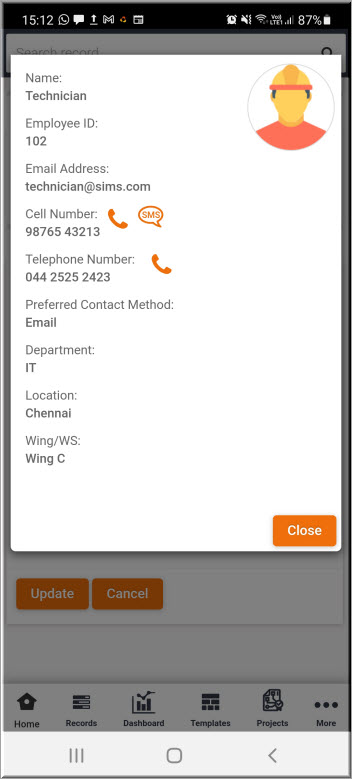
Tap on the phone or text icon to call or send an SMS to the submitter.
If an SLA is violated, the record cannot be updated without entering the reason for violation. Tap on the SLA option.
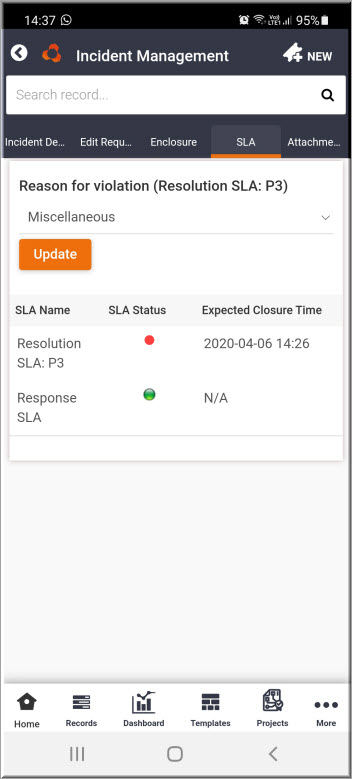
Select the reason for the SLA violation. Tap on 'Update'.
Once the SLA violation reason is updated, you can proceed to add an enclosure. Tap on Enclosures on the top menu to view the enclosures.
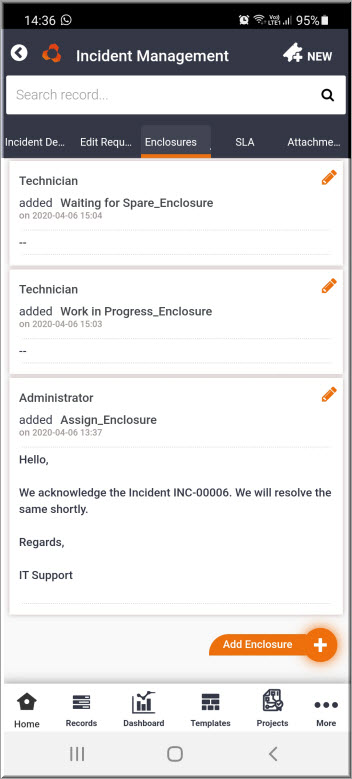
To add a new enclosure tap on the 'Add Enclosure' button. The enclosure addition screen is displayed.
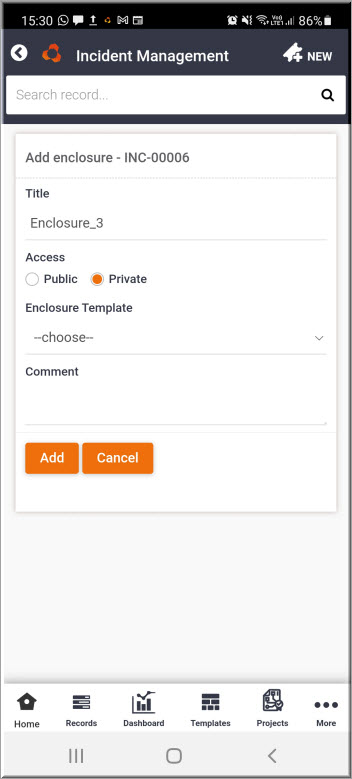
Select 'Access' as 'Public' or 'Private' depending on whether the enclosure should be visible to others.
Select an 'Enclosure Template'. The content of the template is inserted into the comment.
Enter the 'Comment' and Tap on 'Add'.
Tap on 'Update' to update the record.
You can change the state of the record by selecting the drop down on the right. The possible next states are displayed.
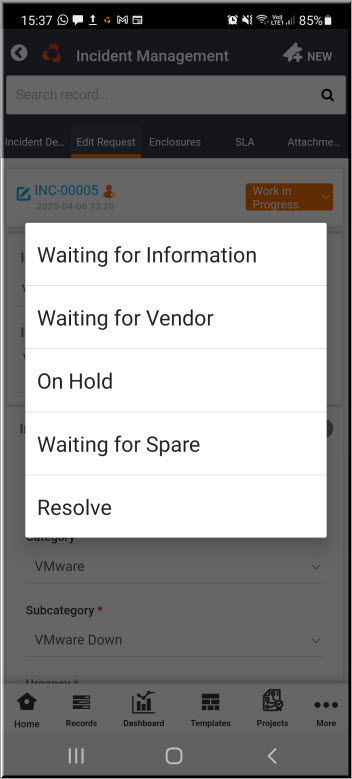
Select the next state. A confirmation screen is displayed.
Tap on 'OK'. The enclosure addition screen is displayed.
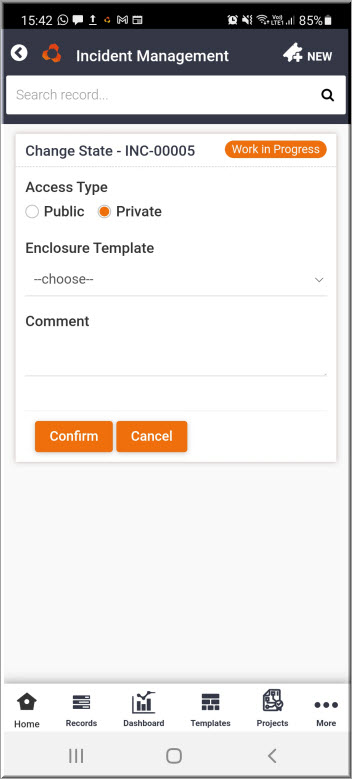
Select 'Access' as 'Public' or 'Private' depending on whether the enclosure should be visible to others.
Select an 'Enclosure Template'. The content of the template is inserted into the comment.
Enter the 'Comment' and tap on 'Confirm'. The state is changed.